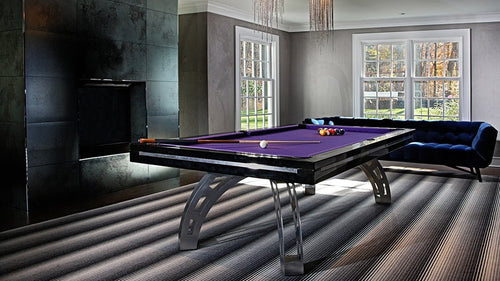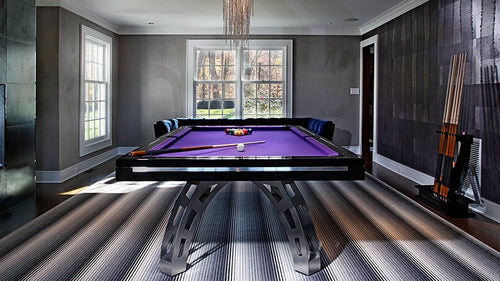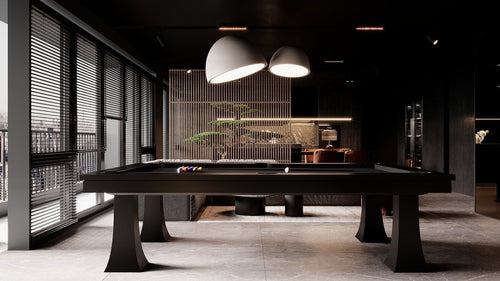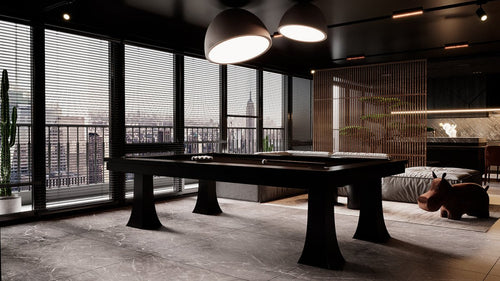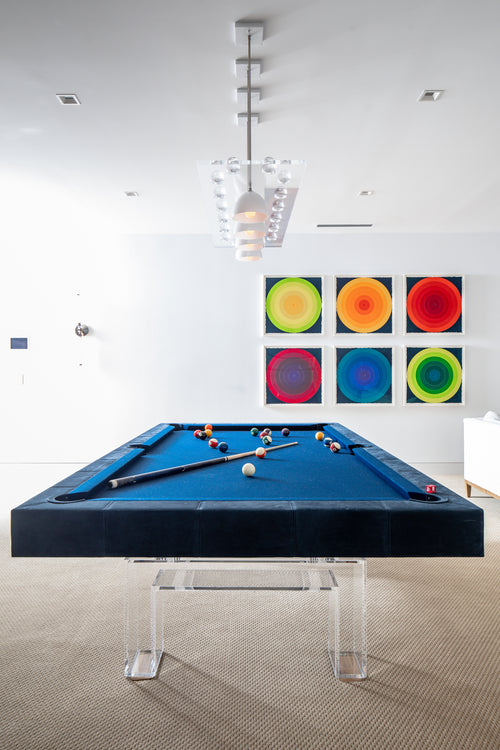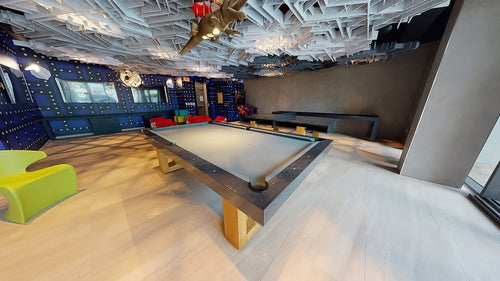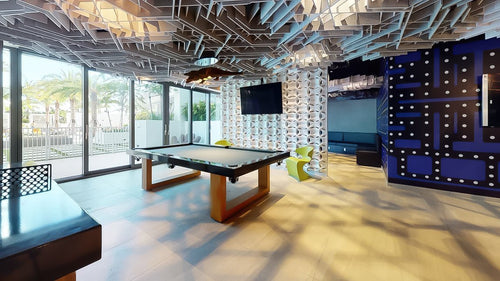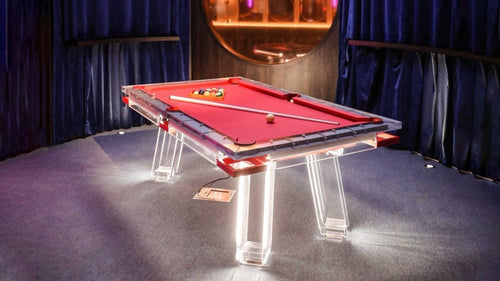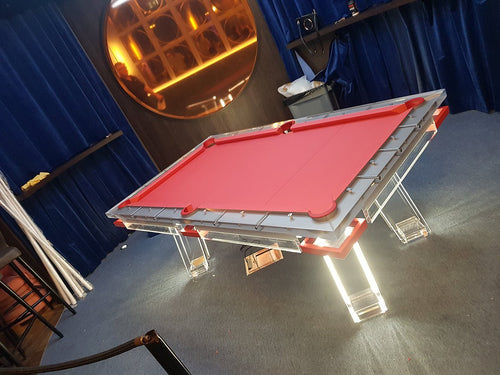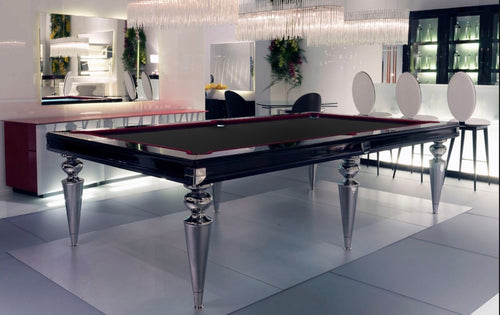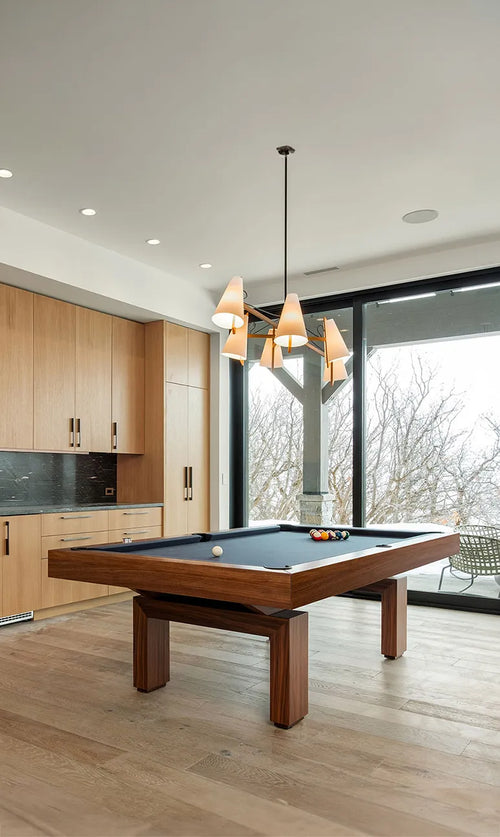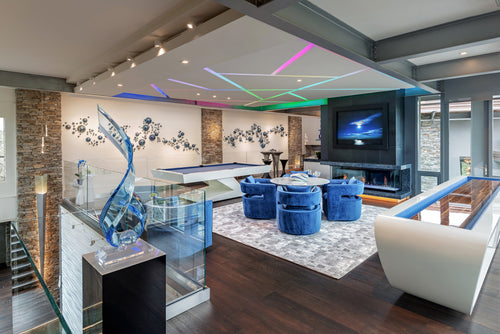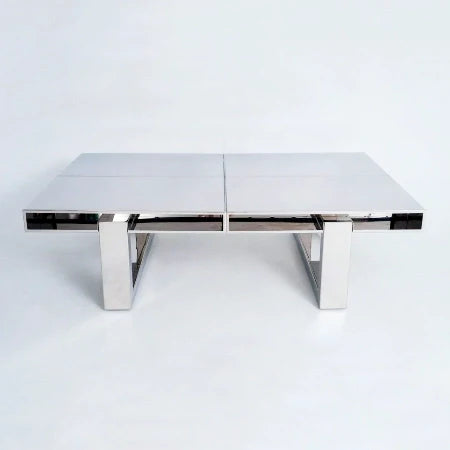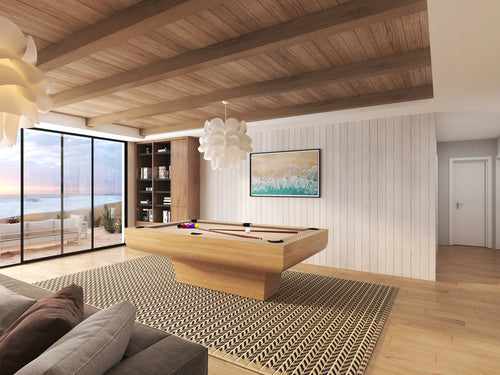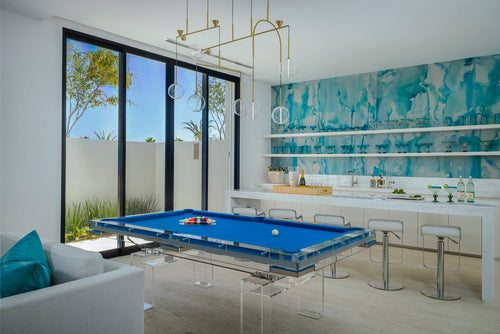
Enjoy our modern designs
For a durable and long-lasting solution, sealing your pool table's slate gaps with Bondo is an excellent choice. This guide walks you through each step to ensure a flawless finish.
Bondo, a two-part automotive body filler, is renowned for its durability and strength. When used correctly, it provides a permanent solution for sealing slate gaps in pool tables. This is especially useful for tables exposed to heavy use or temperature fluctuations. Let’s get into the process.
Materials You'll Need

- Bondo and Hardener
- Putty Knife or Paint Scraper
- Mixing Board
- Disposable Gloves
- Safety Glasses and Mask
- Random Orbital Sander and Fine Sandpaper
- Vacuum Cleaner
- Damp Cloth
- Stickers or Tape
Step-by-Step Instructions
Level Your Slates First
Ensure the slate pieces are perfectly aligned using a spirit level. Adjustments after sealing are not recommended.
Identify Screw Holes to Fill
Only fill screw holes that the pool balls could potentially roll over. Temporarily place the rails and test with a ball.
Prepare Screw Holes

Cover the heads of screws with stickers or tape to prevent Bondo from seeping in. Press firmly to avoid gaps.
Protect Your Work Area
Lay down cardboard or a blanket under the table edges to catch drips. Work in a well-ventilated area due to fumes.
Clean the Slate Surface
Use a damp cloth to remove dust and debris. Ensure the surface is completely dry before proceeding.
Mix the Bondo
Follow manufacturer’s instructions. Only mix what you can apply in 5–10 minutes, as Bondo sets quickly.
Apply the Bondo

Press Bondo into screw holes and spread it over slate joints. Aim for smooth coverage with minimal excess.
Remove Excess Bondo

While still pliable, gently scrape off excess with the putty knife. Be careful around slate edges.
Allow to Harden
Let the Bondo cure fully for 20–30 minutes. Ensure it’s hard to the touch before sanding.
Sand the Surface

Use a random orbital sander with fine-grit sandpaper. Apply gentle pressure and avoid over-sanding.
Clean Up
Vacuum dust from the slate surface and finish with a damp cloth.
Final Inspection
Run your hand over the seams to ensure they’re flush. Reapply Bondo if necessary and repeat sanding.
Additional Tips
- Bondo sets quickly — have a clear plan before applying.
- Use a separate mixing board to avoid staining the slate.
- Proper ventilation and protective gear are essential.
- Dispose of unused Bondo according to local regulations.
Using Bondo to seal your pool table's slate gaps provides a durable, long-lasting solution. Part of the research for this guide was inspired by Average Joes Pool, who has an excellent video on this topic. By following this process carefully, you’ll achieve a professional finish that enhances your table's performance and longevity.
Want a Gentler Method?
Check out our alternative guide to sealing with beeswax.