Enjoy our modern designs
Seal Pool Table Slate Gaps with Beeswax
Transform your pool table into a professional-grade playing surface by easily sealing its slate gaps with beeswax. Enjoy smoother gameplay and enhanced performance with this simple DIY fix. This step-by-step guide will walk you through the process, ensuring professional results even if you're a DIY beginner.
Introduction
Sealing the gaps between the slate pieces of your pool table is essential for optimal gameplay, as unsealed gaps can cause the balls to roll unevenly and disrupt the flow of the game. Beeswax is a traditional, effective method preferred by many for its ease of use and gentle application compared to harsher alternatives like slate cement, which can be more difficult to work with and harder to remove. In this guide, we'll show you how to seal your slate joints using beeswax, complete with tips to ensure a smooth, professional finish.
Materials You'll Need

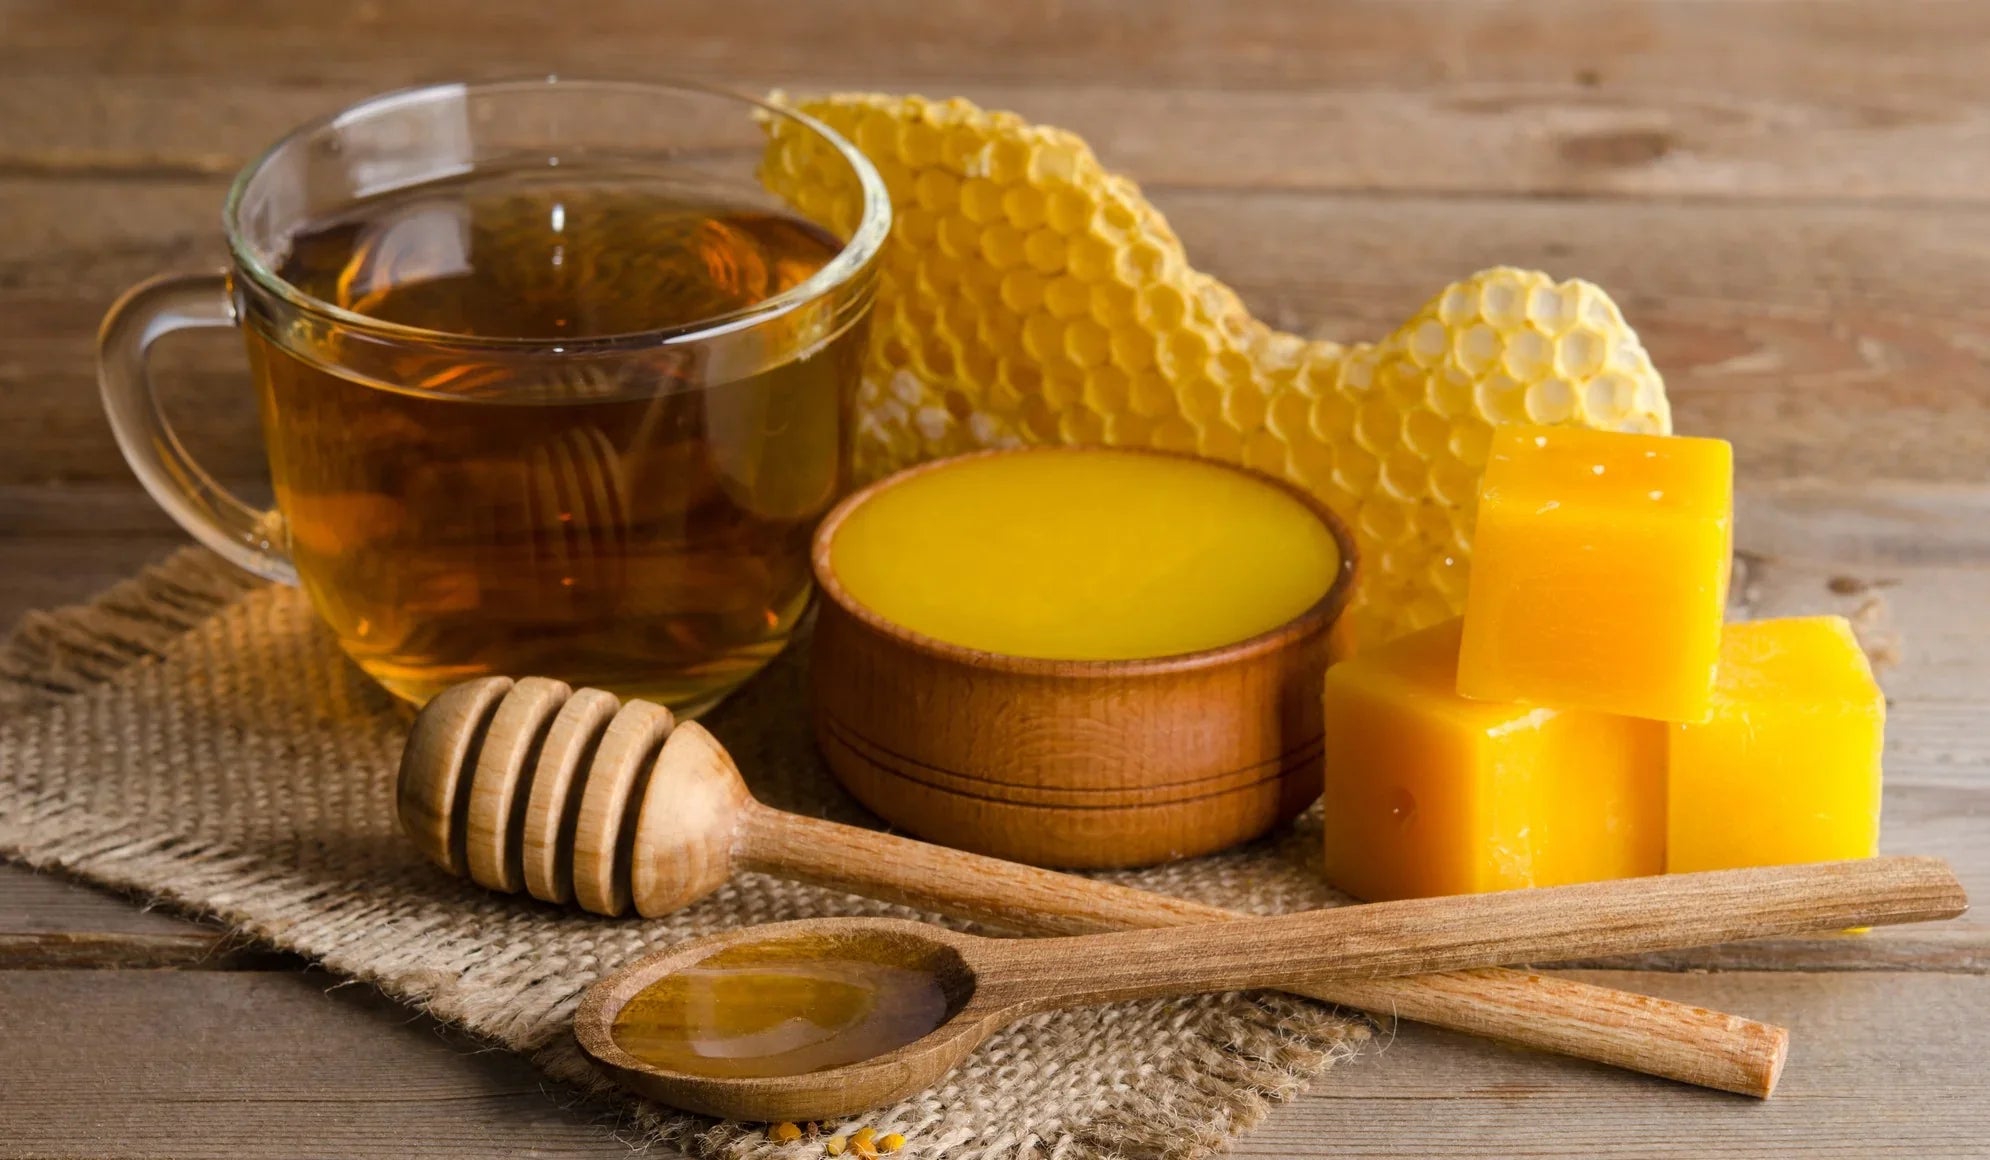
- 100% Beeswax: Cosmetic-grade is fine; ensure it's pure beeswax.
- Blowtorch: To melt the beeswax.
- Scraper: For removing excess wax.
- Heat-Resistant Gloves: Safety first!
- Tongs (Optional): Helps keep your hands away from the heat.
- Protective Covering: Old blanket or cardboard to protect your floor.
- Damp Cloth: For cleaning the slate surface.
- Protective Eyewear: To safeguard against accidental splashes.
Step-by-Step Instructions
1. Level Your Slates First
- Why: Adjustments after sealing are not recommended.
- How: Use a spirit level to ensure the slate pieces are perfectly aligned.
2. Prepare the Slate Joints
- Clean the Surface: Use a damp cloth to wipe down the slate surfaces, removing any dust or debris. Allow the slate to dry completely before proceeding (this typically takes about 10-15 minutes). Ensure the joints are free from old filler or wax.
- Inspect for Damage: Look for any chips or imperfections in the slate edges. Beeswax can fill minor chips effectively.
3. Protect Your Floor
- Lay Down Protective Covering: Place an old blanket or cardboard beneath the table to catch any dripping wax. This protects your flooring from potential damage.
4. Melt the Beeswax

- Safety First: Wear heat-resistant gloves and protective eyewear. Use tongs to hold the beeswax if the piece is too small to hold safely.
- Melting Process: Hold a piece of beeswax about 2-3 inches away from the slate joint. Apply the flame from the blowtorch to the beeswax, allowing it to drip into the gap, taking care to keep the flame moving to avoid overheating or damaging the slate. Move steadily along the joint for even coverage, as this helps prevent uneven surfaces that can negatively impact gameplay.
5. Fill the Slate Joint

- Technique: Allow the melted beeswax to flow into the gap, ensuring it's completely filled. Focus on areas directly under where the felt will lie; there's no need to wax beyond that.
- Addressing Chips: For small chips in the slate, let extra beeswax fill these areas.
6. Scrape Off Excess Wax

- Timing is Key: While the wax is still warm but not hot, use the scraper to remove excess.
- Method: Hold the scraper at a slight angle and gently slide it along the slate surface. Aim for a smooth, flat finish that's flush with the slate, taking care to avoid scratching the slate surface while scraping.
7. Check for Imperfections
- Feel the Surface: Run your hand over the joint to detect any bumps or dips.
- Reapply if Necessary: If you find imperfections, reapply beeswax to those areas. Repeat the scraping process until the surface is smooth.
8. Let It Cool
- Allow to Harden: Let the wax cool and harden completely before proceeding (this usually takes about 30-45 minutes, depending on ambient temperature).
- Final Inspection: Once cooled, do a final check to ensure the joint is seamless.
Additional Tips
- Avoid Overheating: Keep the blowtorch moving to prevent damaging the slate.
- Work Efficiently: Beeswax cools quickly, so apply and scrape in manageable sections.
- Clean Up: Remove any beeswax drips from unwanted areas before it hardens. Use a plastic scraper or a blunt knife to carefully remove any hardened drips if necessary.
Conclusion
Sealing your pool table's slate gaps with beeswax is a straightforward process that can significantly improve your playing experience. By following this guide, you'll achieve a smooth, professional finish that enhances both the performance and appearance of your table. If you're unsure, consider practicing on a small area first to build your confidence before sealing the entire table.
Need guidance on using Bondo instead? Check out our step-by-step guide on sealing slate gaps with Bondo.