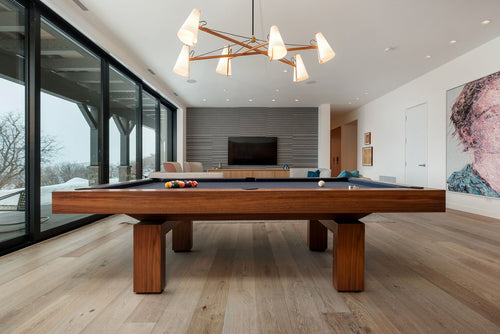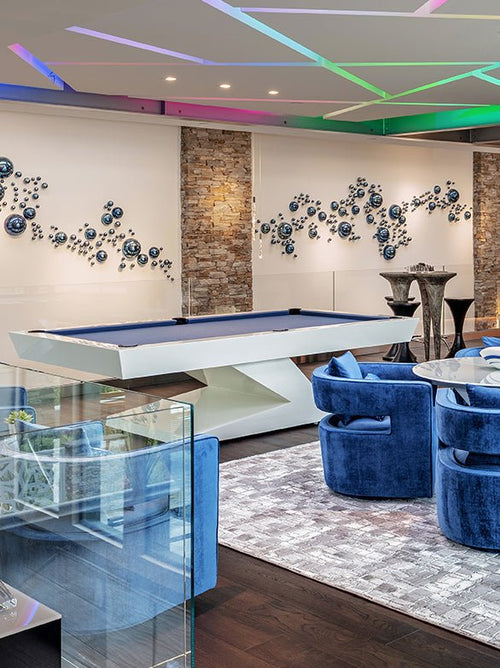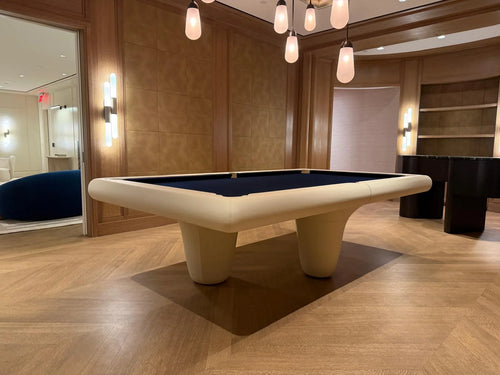

Enjoy our modern designs
Estimated Read Time: 6 mins | Updated:
A cue tip only does two jobs: hold chalk and transfer spin. If it’s glazed, misshapen, or compacted, you’ll miscue and lose control. The bow-tie tool fixes all three fast. Here’s how to use each side without wrecking your tip.
Table of Contents
- The Three Tools (and What They Actually Do)
- Order of Operations
- Pressure & Frequency
- Visual Checks
- Common Mistakes to Avoid
- Quick Care Schedule
- Pro Tips
- Bottom Line
1. The Three Tools (and What They Actually Do)
1. Scuffer (coarse abrasive) — “de-glaze & add bite”
- Purpose: Break the shiny surface so chalk grabs.
- How: Press the tip lightly into the scuffer and make small circles — roughing, not grinding.
- Time: 3–6 gentle passes until the surface looks matte, not furry.
2. Shaper (concave cutter) — “restore the dome”
- Purpose: Maintain the curve for consistent spin.
- How: Insert the tip into the cup and rotate the cue with light pressure.
- Result: A nickel-to-dime radius.
- Pro move: Angle the shaper slightly for a deeper curve—but don’t saw at it.
3. Tip Pick (needle punch) — “open the leather”
- Purpose: Vent and fluff compressed leather for better chalk adhesion.
- How: Straight in, straight out — or slight lift. Never twist.
- Note: Light, even peppering across the surface is enough.
2. Order of Operations (Quick Routine)
- Shaper to set the dome
- Scuffer to de-glaze
- Tip Pick to open the leather
- Chalk — quality chalk, thin layers, every shot
If your dome is already good, skip straight to scuffer → pick → chalk.
3. Pressure & Frequency (Don’t Overdo It)
- Pressure: Think “firm pencil pressure,” not “bench grinder.”
- Scuffer: Light touch—only when the tip looks shiny.
- Shaper: Minimal use—only when the radius drifts.
- Tip Pick: Sparingly—too much punching = mushrooming and fast wear.
4. Visual Checks (What “Good” Looks Like)
- Surface: Matte, micro-textured, no glaze.
- Edge: Clean and round; no flared “mushroom.”
- Radius: Smooth dome, no flat spots or ridges.
- Fiber health: No deep gouges, tears, or fuzzy clumps.
5. Common Mistakes to Avoid
- Twisting the pick — shreds the tip; go in/out only.
- Over-shaping — grinding trenches shortens tip life.
- Heavy scuffing — re-glazes faster and thins the tip.
- Fixing mushrooming with abrasives only — trim or compress first.
- Chalking over glaze — re-scuff or pick before chalking.
6. Quick Care Schedule (League/Home Play)
- Before session: Light scuff + chalk.
- Mid-session: If miscues start, 3–4 pick taps, then re-chalk.
- Weekly: Check dome → shape → scuff → pick → chalk.
- Monthly: Inspect for wear; replace if under 2–2.5mm or edges crumble.
7. Pro Tips
- Go slow the first time—new bow-ties are aggressive.
- Use good chalk—quality > quantity.
- Pair with a burnisher to tighten edges and reduce mushrooming.
- Mind humidity—damp air compacts leather faster.
8. Bottom Line
Bow-tie tools work when used lightly and deliberately: shape the dome, scuff the glaze, pick to open pores, then chalk. No twisting, no grinding. Keep it clean, and your tip will grip chalk, take spin cleanly, and last longer.
Upgrade Your Game
Need the right tools to keep your cue in peak form? Explore our cue maintenance kits, burnishers, and chalk selections.
Explore AccessoriesQuestions? Contact us for expert advice.