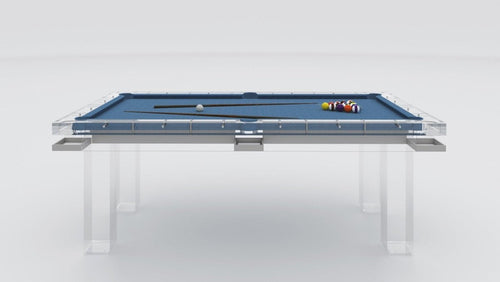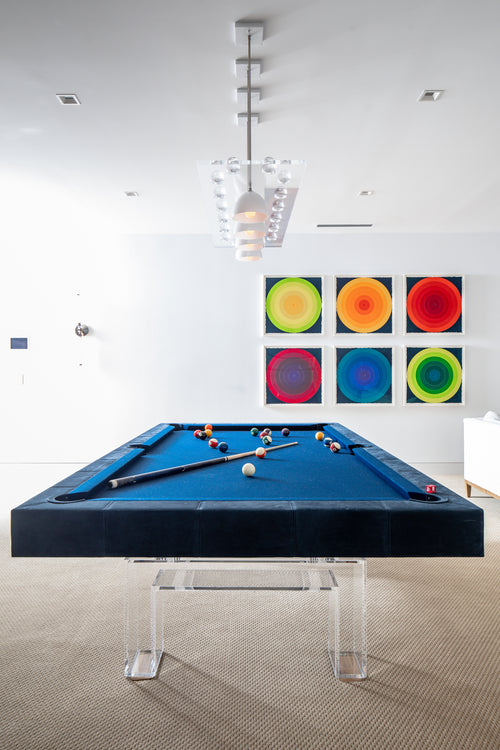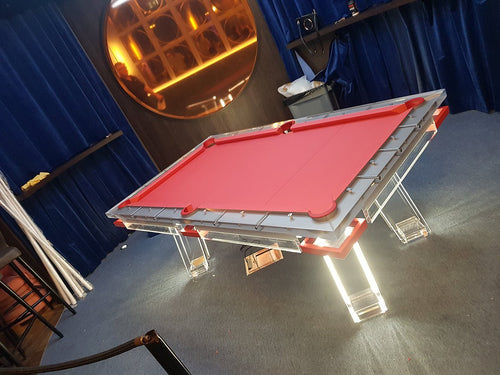

Enjoy our modern designs
Technique & Aiming Systems
Center to
Edge
The CTE aiming system — how five reference points and a single pivot can replace guesswork at every cut angle.
The Center to Edge Aiming System — CTE — simplifies shot-making by replacing geometric calculation with a set of precise visual reference points. While sometimes debated, it has proven effective for players at every level who want a repeatable, structured approach to cut angles.
In this guide, we'll break down the fundamentals of CTE, walk through its practical application at the table, and give you the examples and drills needed to make the pivot second nature.
✦
The Concept
What CTE
Actually Does
The Center to Edge Aiming System aligns the center of the cue ball with specific reference points — called aiming spots — on the object ball. Unlike methods that require you to estimate contact points through geometry, CTE gives you named, repeatable positions to aim at depending on the cut angle required. Once you know the spot, you aim, pivot, and shoot.
The system is built on five aiming spots, a cue offset, and a pivot back to center. Those three elements — spot, offset, pivot — apply to every shot. The variable is which spot you use and which direction you offset, which is determined entirely by the cut angle.
A
15°
Slight cut — near center of object ball
B
30°
Mid cut — middle of object ball
C
45°
Standard cut — towards edge
Edge
45–75°
Thin cut — outer edge of ball
Outer
75–80°
Extreme thin cut — beyond the edge
The Mechanics
Setup, Offset
and the Pivot
Every CTE shot follows the same three-stage sequence regardless of the angle or direction of the cut. The variation is in the parameters — which spot, which direction of offset, how far. The sequence never changes.
Cutting to the Right
-
Offset the Cue Tip Right
Position the tip of your cue one tip-width to the right of center on the cue ball. This is your starting reference — every right-cut shot begins here. For extreme cuts beyond 45°, offset a tip and a half instead of one tip.
Standard cut: 1 tip right · Extreme cut (>45°): 1.5 tips right -
Aim Through the Correct Spot
From that offset position, aim your cue through the cue ball toward the appropriate aiming spot on the object ball: spot A for 15°, B for 30°, C for 45°. For shots beyond 45°, aim at the outer edge of the object ball.
-
Pivot Back to Center and Shoot
Once aligned on the spot, pivot your cue back to the vertical center of the cue ball — keeping the back of the cue as the pivot point — and then execute the shot. The pivot is the critical step that translates the visual alignment into the correct contact angle.
The pivot point is the back of the cue, not the tip. Keep the rear anchor steady.
Cutting to the Left
The process is a mirror image: offset one tip to the left of center, aim at the corresponding spot from left to right (C for 45°, B for 30°, A for 15°), then pivot back to vertical center and shoot. For extreme left cuts, offset a tip and a half left.
CTE doesn't ask you to calculate angles. It asks you to see a spot, offset once, and pivot. The geometry is built into the system — you just follow the steps.— On the design logic of CTE
In Practice
CTE
Examples
Example 01
15° Cut to the Right
- Position cue tip one tip-width to the right of center on the cue ball
- Aim at spot A — the right edge of the stripe or the first reference point from center
- Pivot back to vertical center of the cue ball
- Execute the shot — ball drops smoothly into the pocket
Example 02
30° Cut to the Right
- Position cue tip one tip-width to the right of center
- Aim at spot B — the middle of the object ball
- Pivot back to vertical center
- Take the shot — the 30° geometry is handled by the system
Example 03
45° Cut to the Left
- Position cue tip one tip-width to the left of center
- Aim at spot C — the right edge of the stripe from left approach
- Pivot back to vertical center
- Shoot cleanly into the pocket
Example 04 — Advanced
75°–80° Extreme Thin Cut
- Offset a tip and a half to the left of center — the wider offset compensates for the extreme angle
- Aim at the outer edge of the object ball — beyond the standard C spot
- Pivot back to center, maintaining the rear anchor point throughout
- Execute: even at this sharp angle, CTE maintains accuracy and directional control
Why It Works
Benefits of
the System
Precision
Named reference points eliminate the estimation that makes other aiming methods inconsistent. You're always aiming at a specific, defined location — not an approximated zone.
Consistency
The same three-step sequence — offset, aim at spot, pivot — applies to every shot. A consistent process produces consistent results regardless of table layout.
Confidence
Once you trust the system, CTE removes the guesswork that causes hesitation. You confirm the spot, execute the pivot, and shoot — without second-guessing the geometry mid-stroke.
What Goes Wrong
Common Pitfalls
to Avoid
Pitfall 01
Incorrect Pivot
The pivot is the step that translates visual alignment into correct contact. Pivoting from the tip rather than the rear of the cue, or failing to pivot fully back to center, introduces an error that no amount of correct spot identification can overcome.
The Fix
Anchor the butt of the cue firmly before pivoting. Practice the pivot motion in isolation — no ball, just the cue — until the motion is smooth and the center return is automatic.
Pitfall 02
Ignoring Spin
CTE governs the direction of the object ball, not the cue ball's post-contact behavior. Applying English or side spin changes the cue ball's path and can subtly alter the contact angle, shifting the object ball off the intended line.
The Fix
Learn CTE first with center-ball strikes only. Once the pivot and spot system is reliable, introduce spin carefully and observe how it affects both balls. Adjust the aim spot slightly to compensate for spin-induced throw when necessary.
Tips for Mastering CTE
Practice consistently and track angles. The more you run the offset-aim-pivot sequence, the faster your eye learns to locate the correct spot without deliberate calculation. Start with the 30° B-spot shot — it is the most forgiving reference point and builds the pivot habit cleanly.
Use training aids early. Marked balls with the A, B, C positions indicated, or alignment guides on the table, accelerate the learning curve significantly. Remove them once the spots are instinctive.
Stay patient with extreme angles. The 75–80° thin cut requires a tip-and-a-half offset that feels unnatural at first. Run ten repetitions of the extreme cut in both directions per session — the wider offset becomes comfortable faster than it seems.
// Final Thoughts
CTE is a powerful system for any player who wants to replace guesswork with structure. It takes time to internalize — the spots need to become visual rather than calculated, and the pivot must become automatic. But once those two things happen, the system handles the geometry so you can focus entirely on execution.