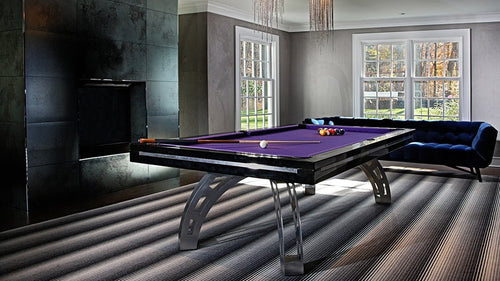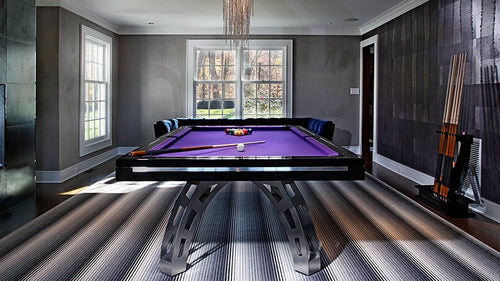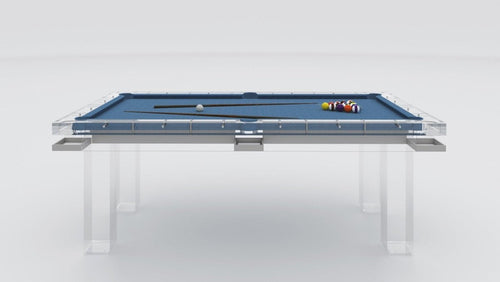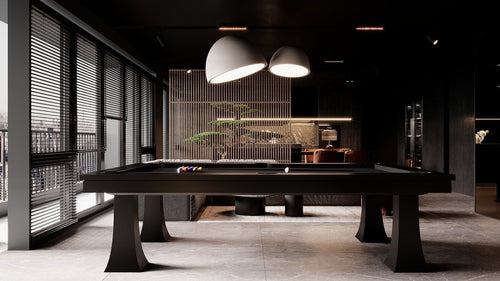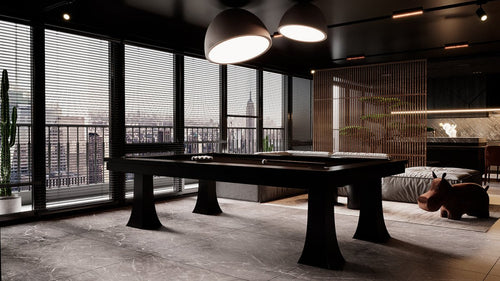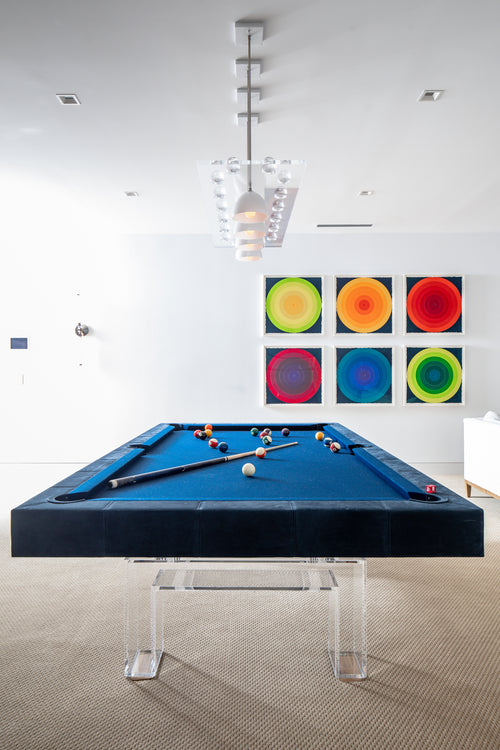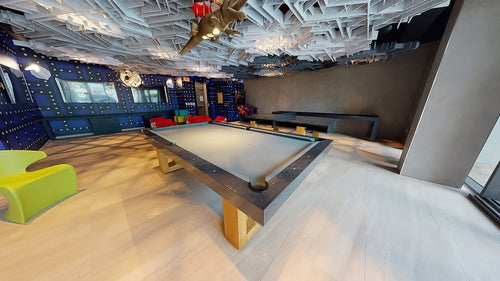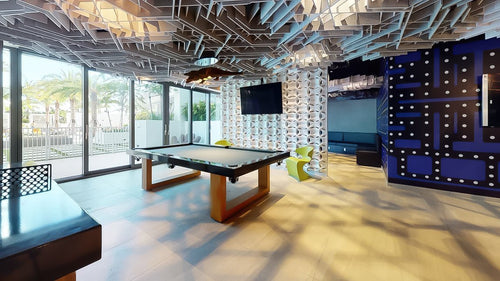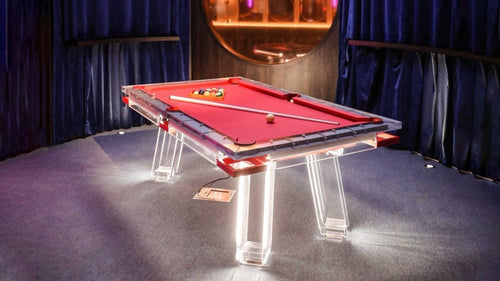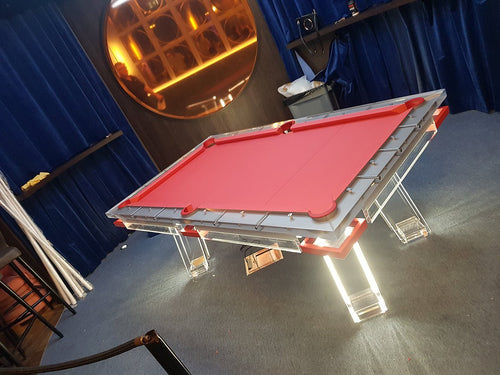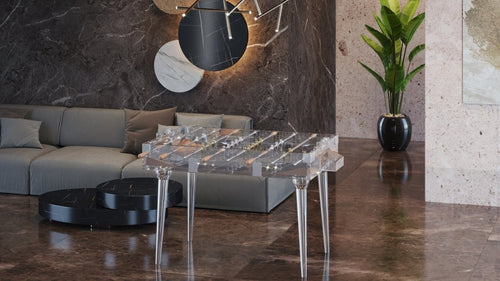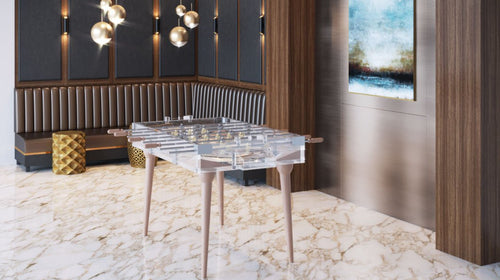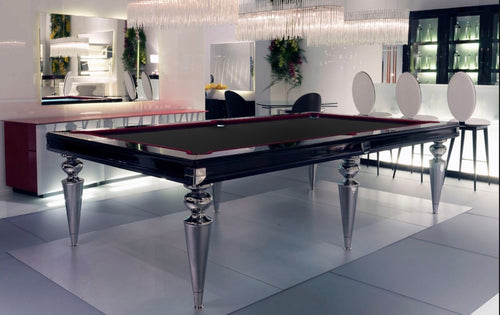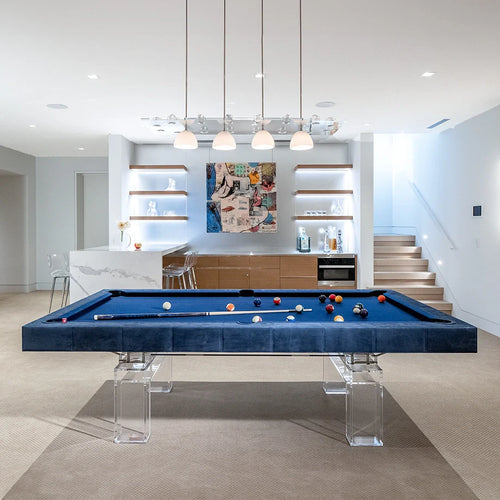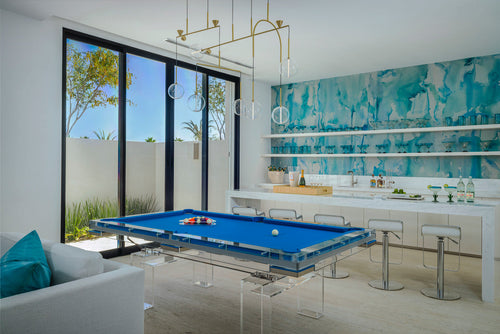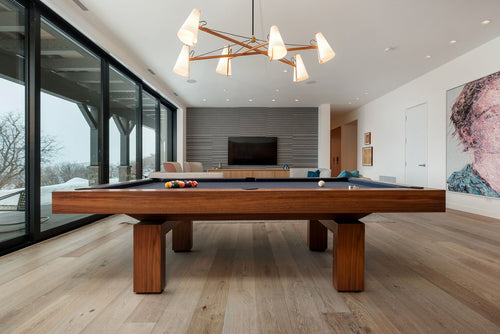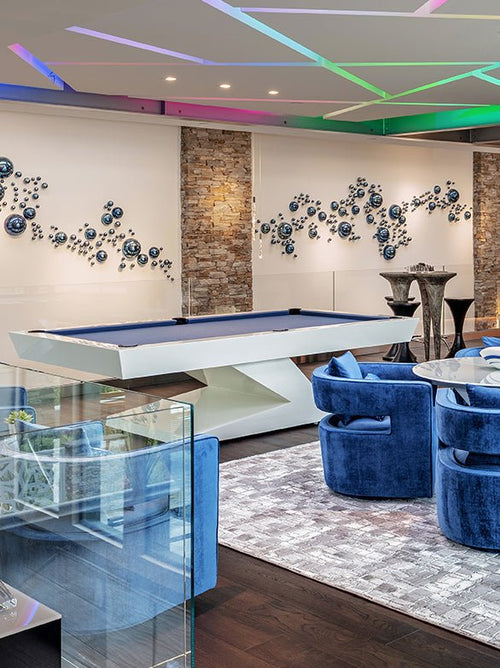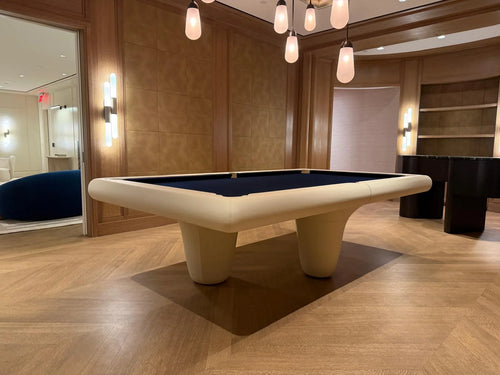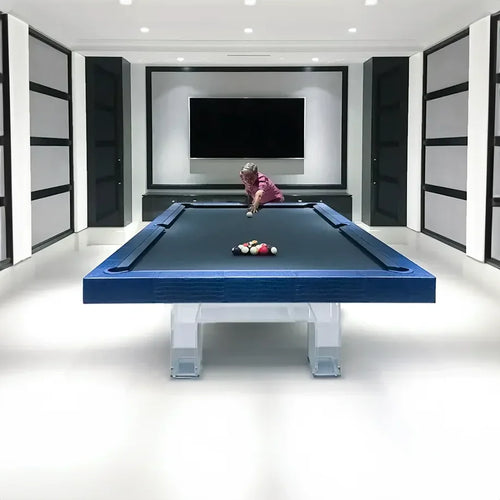

Enjoy our modern designs
Installing a pool table is an exciting project that transforms your game room into a stylish entertainment hub. Whether you’re setting up a new table or relocating a cherished classic, the installation process is both intricate and time-sensitive. In this blog, we’ll explore why hiring a professional is the best choice for your pool table installation, outline the typical timeline, and highlight how expert service saves you time, effort, and potential headaches.
Table of Contents
The Value of Professional Installation
While a DIY project might seem tempting, pool tables require a level of precision that only professionals can deliver. Expert installers bring years of experience to the table—literally. They understand the nuances of leveling the slate, securing pockets, and adjusting cushions, ensuring that every element is perfectly aligned for optimal play.
Specialized Tools
Professional installers come fully equipped with specialized tools that simplify the process. These tools include:
- Slate Levelers: To guarantee a perfectly even playing surface.
- Hydraulic Lifts: For safely moving heavy components.
- Moving Dollies: To prevent floor damage during transit.
- Alignment Jigs: For precise assembly and leveling.
With these tools, professionals can manage the table’s weight and intricacy, reducing the risk of damage to your table or your home.
Time-Saving Efficiency
Installing a pool table on your own can be a time-consuming endeavor. By hiring experts, you benefit from their streamlined process—ensuring your table is game-ready in a fraction of the time it would take you to figure it all out.
Breaking Down the Installation Process
Professional pool table installation generally takes between 4 to 6 hours, though the exact time can vary depending on the table’s size, model, and overall complexity. Here’s a step-by-step breakdown of what you can expect:
1. Disassembly & Transportation
If your table is being relocated, the process begins with careful disassembly and secure transportation. This step ensures that every component is protected, regardless of the distance or accessibility challenges.
2. Frame Assembly
Upon reaching the new location, professionals reassemble the frame. This initial setup takes about 1-2 hours, as every piece must be aligned correctly to support the slate.
3. Slate Leveling
The most critical step is leveling the slate—a process that typically takes 2-3 hours. Using precise measurements and specialized tools, installers adjust the slate’s angle to guarantee a level playing surface, essential for fair and accurate gameplay.
4. Attaching Pockets & Cushions
The final stage involves securing the pockets and cushions, which generally takes about 1 hour. With everything in place, your table is ready for its first game.
Understanding Installation Costs
While the expense of professional installation might seem like an additional cost, it’s important to consider the long-term benefits. Proper assembly not only ensures flawless play but also prevents damage that can lead to costly repairs. At the end of the day, investing in professional service guarantees that your pool table remains a focal point of enjoyment for years to come.