
Enjoy our modern designs
Estimated Read Time: 5 mins |
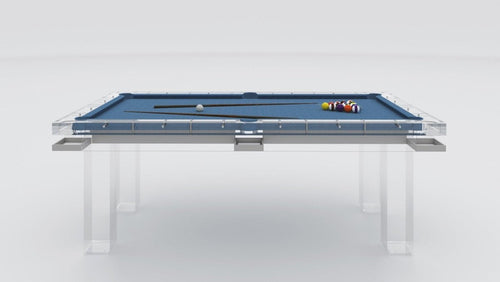
Isometric drawings blend the precision of technical schematics with the clarity of 3D visualization—no perspective tricks needed. As a fundamental part of any designer’s toolkit, they help you convey spatial relationships, dimensions, and material details in one comprehensive view.
What Is an Isometric Drawing?
- Parallel Projection: No vanishing points—lines remain parallel, preserving geometric integrity.
- Uniform Foreshortening: All three axes (X, Y, Z) are inclined at 120° to each other and scaled equally for accurate dimensions.
- Axonometric Category: Alongside dimetric and trimetric projections, isometric is the simplest and most widely used for its readability.
Why Designers Choose Isometrics
- Accurate Measurements: Extract true-to-scale dimensions directly from the drawing—ideal for confirming clearances and fit.
- Speed and Simplicity: Generate by hand or in CAD more quickly than full perspective renderings.
- Clear Communication: Clients, contractors, and colleagues instantly grasp layout and scale without technical jargon.
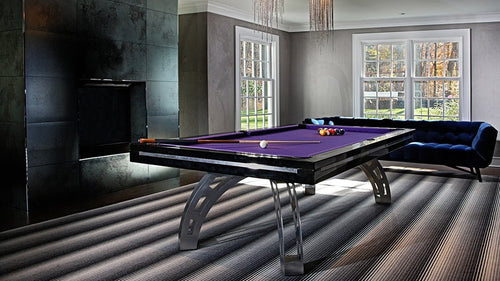
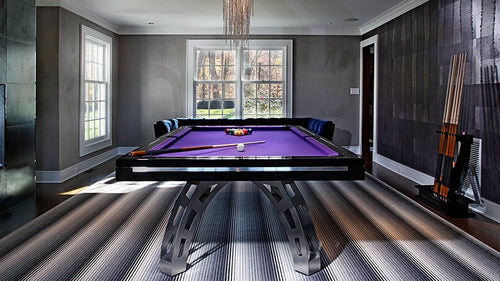
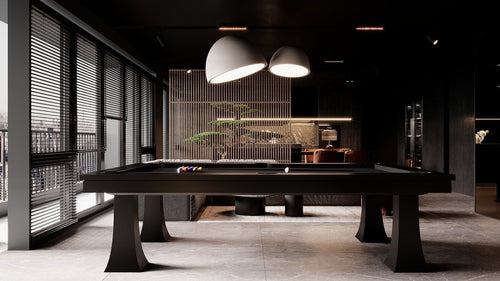
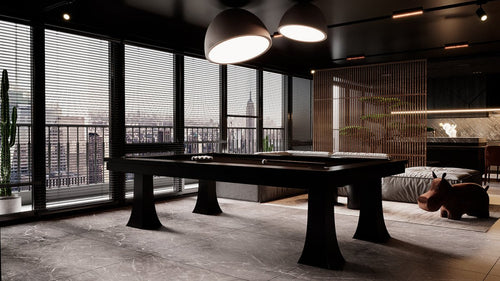
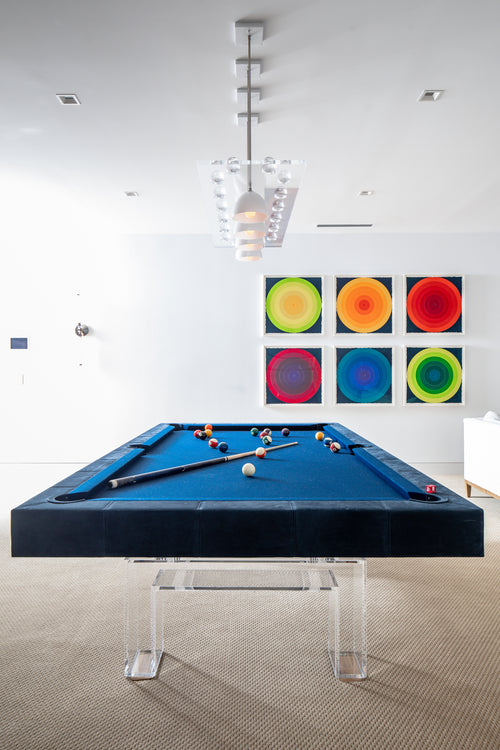
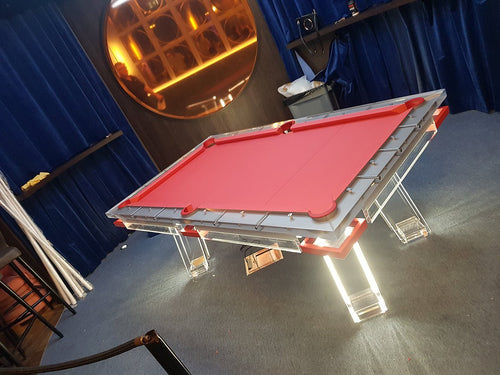
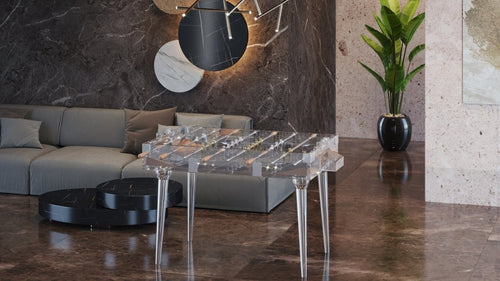
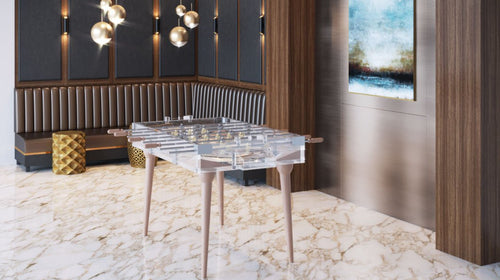
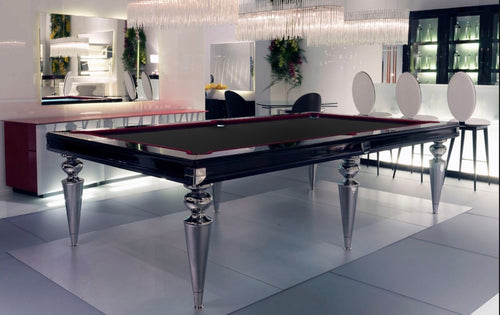
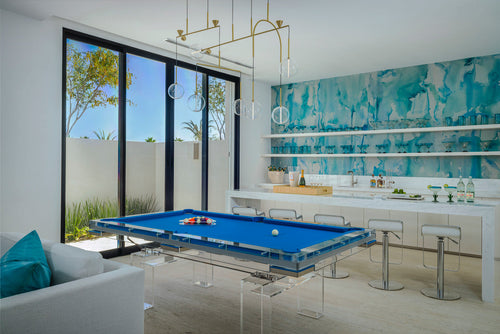
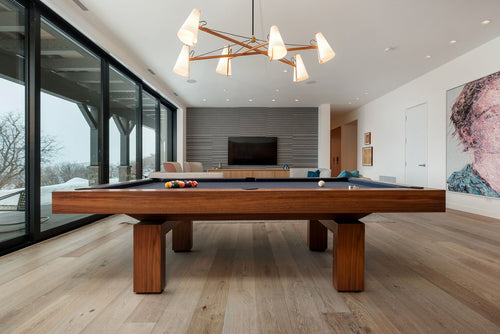
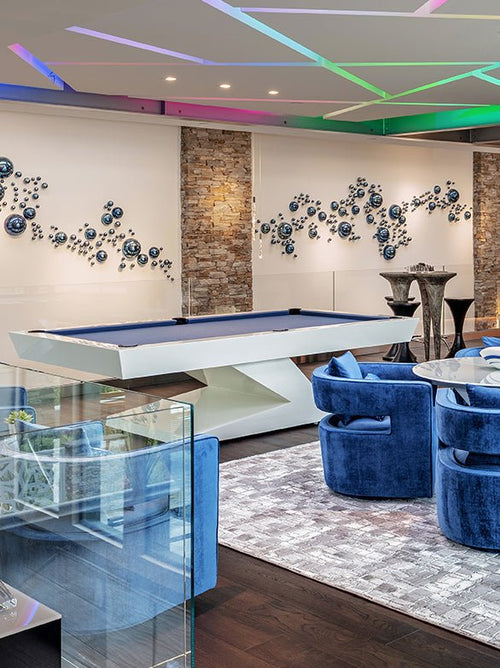
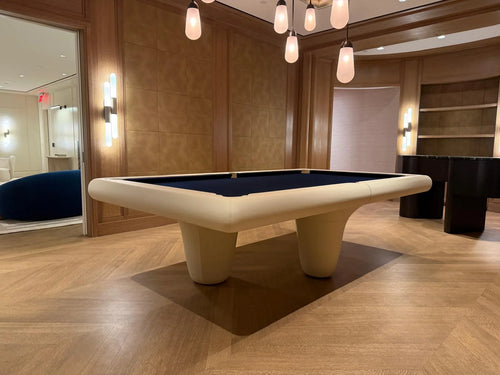
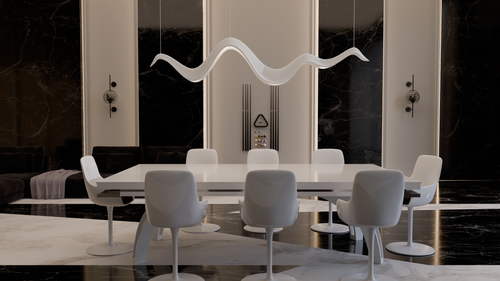
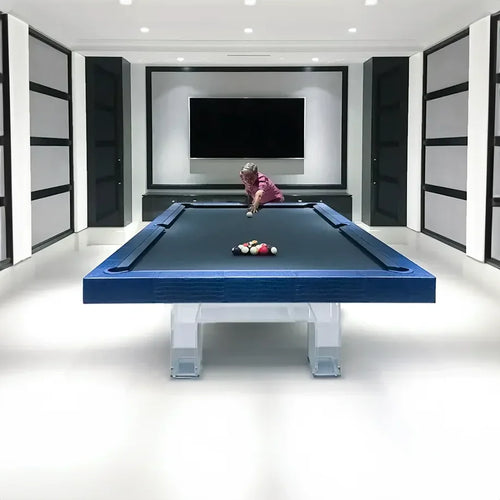
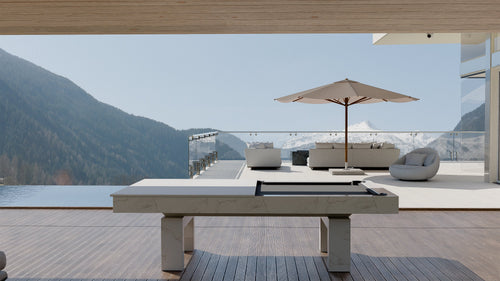
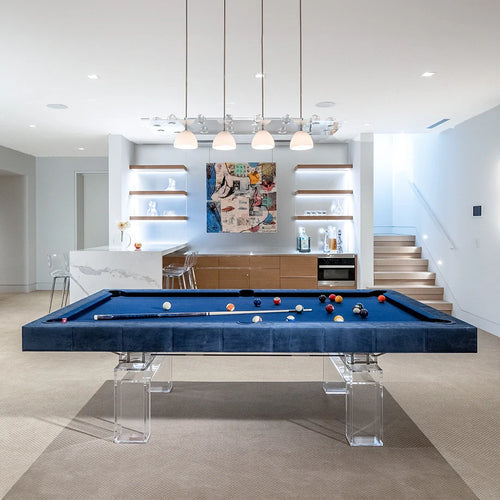
- Versatility: From custom cabinetry to furniture layouts—or illustrating a centerpiece like a luxury pool table—isos adapt to any design element.
Comparing Drawing Types
| Drawing Type | Ideal Use | Drawbacks |
|---|---|---|
| Plan | Floor layouts and traffic flow | No vertical context |
| Elevation | Wall details and fixtures | Lacks depth |
| Perspective | Realistic client renderings | Not dimensionally accurate |
| Isometric | Technical coordination and space studies | Less photo‑real than perspective |
Step-by-Step: Crafting an Isometric
- Prepare the Base Plan: Start with a precise, scaled floor plan or layout.
- Establish Axes: Draw vertical lines at 90° and two horizontal axes at 30° from your baseline.
- Transfer Measurements: Project lengths from the plan along each axis, maintaining consistent scale.
- Build the Scene: Layer major elements—walls, fixtures, furniture—in descending order of importance.
- Annotate and Dimension: Add dimension lines, material notes, and clearance markers for clarity.
Best Practices and Pitfalls to Avoid
- Line Weight Hierarchy: Use bold lines for primary structures and finer lines for details.
- Avoid Overcrowding: Focus on key components; omit decorative clutter.
- Scale Consistency: Double-check axis scaling, especially in hand-drawn sketches and CAD settings.
- Selective Emphasis: Highlight critical features—e.g., a window seat, a built-in bar, or a pool table nook—without overwhelming the view.
Integrating Isometrics into Your Design Workflow
- Early Concepts: Sketch quick isometric views during brainstorming sessions to validate spatial ideas.
- Design Development: Incorporate detailed isometrics alongside plans and elevations for construction documents.
- Client Presentations: Use isometric overlays with finish schedules to help clients visualize materials and textures.
Mastering isometric drawings elevates your ability to design, present, and execute projects with precision. Whether you’re detailing millwork, arranging furniture, or planning a luxury pool table installation, isometrics ensure every dimension and detail aligns with your vision.