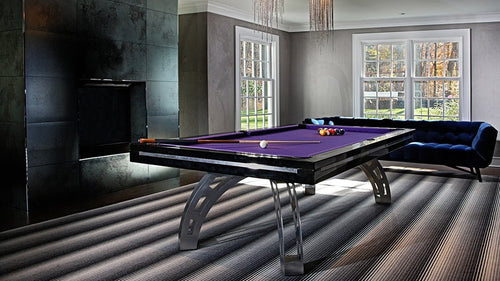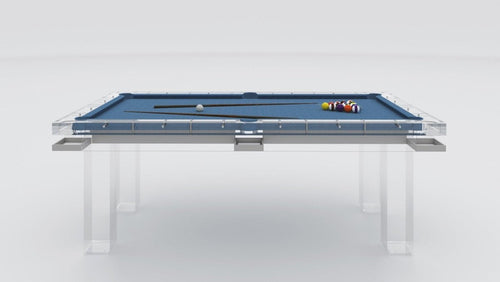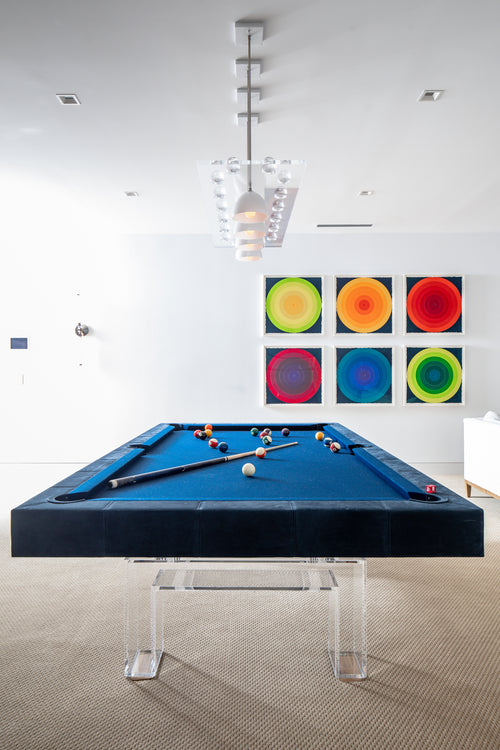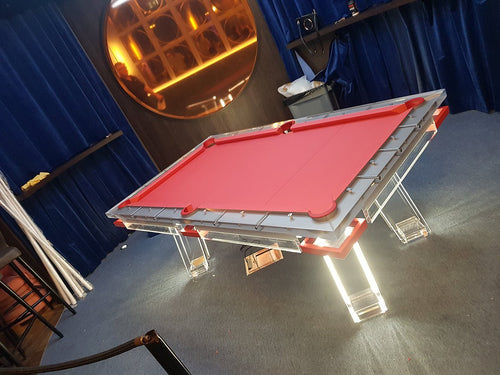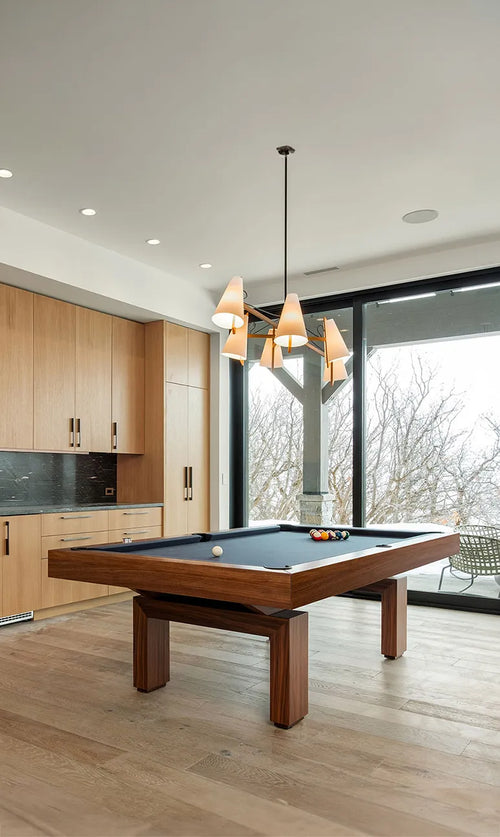

Enjoy our modern designs
Estimated Read Time: 6 mins |
Quick overview: A level slate bed is the foundation of every true roll. Whether you’re installing a three-piece slate or wrestling with a colossal one-piece slab, pros rely on precision tools, stable shims, and methodical steps to nail flatness within thousandths of an inch. Here’s how they do it.
Tools & Materials Used by Professional Installers
-
Precision levels:
- 12–18″ machinist’s level (0.005″/ft sensitivity)
- 4′ carpenter’s level or straightedge for span
- Optional master level (0.0005″/ft) for ultra-fine work
-
Shimming materials:
- Composite or plastic shims, folded playing/card stock
- Rubber or hardwood leg shims for uneven floors
-
Seam fillers:
- Pure beeswax (melt-in, easy to remove)
- Slate cement (Bondo) for permanent fills, if preferred
- Propane torch, metal scraper for trimming wax
-
Additional kit:
- Rubber mallet, wrench/screwdriver
- Straightedge or steel ruler
- 1″×2″×3″ precision block
- Wooden dowels/toothpicks for loose screw holes
- Clean cloth and cue ball/marble for roll tests
Step-by-Step Professional Leveling Process
-
Frame pre-level:
Assemble and tighten the frame. Place the machinist’s level on a long straightedge, then use leg levelers or floor shims to eliminate side-to-side twist and end-to-end tilt.
-
Slate positioning:
Set the center slate first, then head and foot pieces. Align seams over cross-supports and ensure equal overhang on both sides. Insert a couple of loose screws to hold position.
-
Shim & level each section:
Start with the center slab: add thin shims under low corners until it’s perfectly level. Move to end slates, shimming until each piece is flush with its neighbor. Roll a ball across every seam—if it rolls straight and doesn’t hop, you’re on track.
-
Secure & re-check:
Tighten slate screws from outside in, then re-test level and ball roll. If tightening dips the slate, back out screws, add shims, and retry until the bed stays dead flat.
-
Fill seams & holes:
Warm seams with a torch, drip in beeswax, re-melt for penetration, then scrape flush. For a permanent fill, use slate cement and sand smooth.
-
Final checks & cloth:
Hand-feel seams, roll a ball across the entire bed, even use a plate-glass sheet for ultra-sensitive tests. Once satisfied, install the felt carefully—watch for tension that could upset your level.
Multi-Slate vs. Single-Slate Table Considerations
Three-piece slate dominates for its modular adjustability. You can shim each section independently, then hide seams perfectly with beeswax. It’s the installer’s favorite for 7ft–9ft tables.
One-piece slate arrives as a beastly slab—no seams to hide but no sections to shim. It demands a rock-solid frame and often built-in jacking points or wedges (some pro tables offer 22-point leveling systems). When done right, a single slab plays as true as any three-piece set, but the setup is more frame-centric.