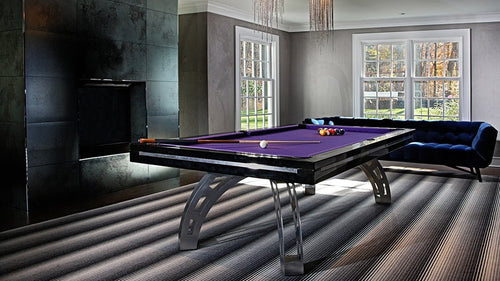
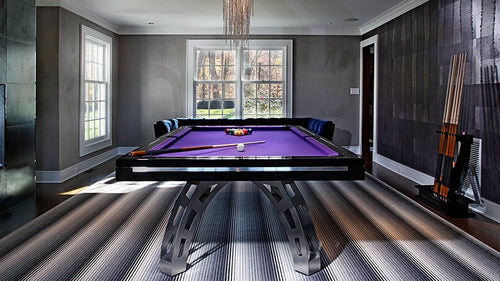
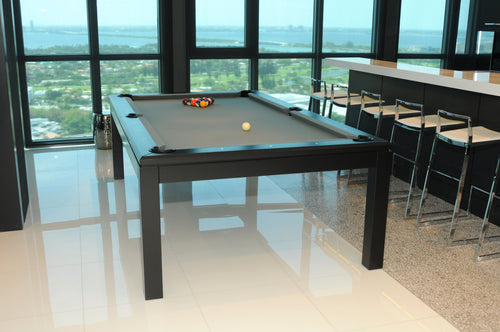
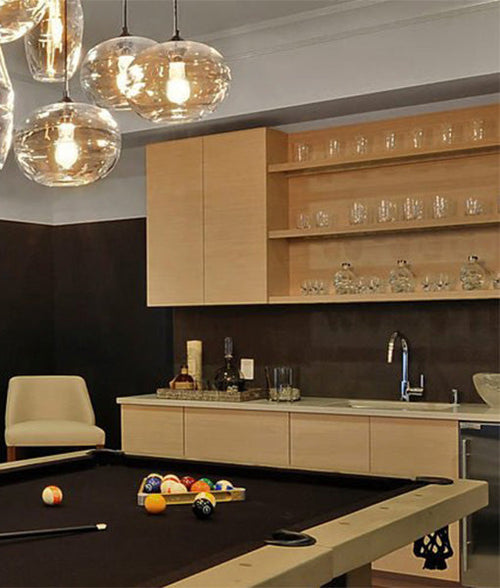
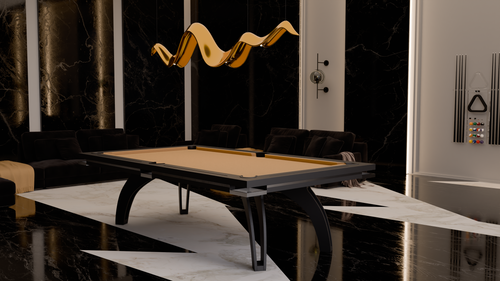
Enjoy our modern designs
Estimated Read Time: 5 mins |
A brilliant concept means nothing if you can’t sell it. In interior design, presentation is the make‑or‑break moment—the point where renderings, boards, and your own voice must align to convince a client that your vision is worth the spend. Below is a deep dive into building presentations that move projects from “interesting” to “approved,” whether you’re showing a cozy residential refresh or a massive corporate fit‑out.
1. Size Up the Situation First
Before opening PowerPoint—or unrolling vellum—answer three questions:
-
Who’s the client?
- A CFO wants numbers and phasing.
- A homeowner responds to story and mood.
-
What’s the scope?
- One room? A floor? A multi‑building campus? Scale dictates collateral.
-
What level of polish is expected?
- Rendered walkthroughs for a luxury hotel.
- A tight plan‑plus‑material board may suffice for a single bathroom remodel.
Clarifying these points up front cuts hours of wasted production time.
2. Assemble the Right Presentation Tools
| Tool | Best For | Why It Works |
|---|---|---|
| Floor Plans & Furniture Layouts | Every project | Shows spatial flow and adjacencies at a glance |
| Sections & Elevations | Window treatments, built‑ins, millwork | Communicates height, proportion, and detailing |
| Material / Mood Boards | Color, texture, ambiance | Lets clients feel the palette—literally if physical |
| Concept Boards | Early buy‑in on vibe | Collages images, sketches, words into one cohesive narrative |
| Rendered Visuals & Walkthroughs | Large, high‑budget projects | Immersive, reduces imagination gap |
| Storyboards | Sequencing large presentations | Keeps information flow tight and logical |
Pro tip: Match material samples to real‑world scale—tiny swatches understate impact.
3. Build a Cohesive Graphic Language
Consistency screams professionalism. Use one typeface family, one color‑coding system, and a unified grid. Letterheads, business cards, proposal covers—every outward‑facing item should telegraph the same aesthetic DNA clients will get in the finished space.
4. Script the Narrative
A winning deck follows a classic three‑act structure:
- Introduction – Re‑state the client’s pain points and project goals.
- Solution – Unveil plans, boards, and renderings in logical order.
- Proof & Close – Summarize benefits, outline next steps, hit budget milestones.
Storyboarding each slide or board prevents rambling and keeps the room laser‑focused on value.
5. Leverage Technology—Wisely
- CAD & BIM: Perfect for accurate plans and quick revisions.
- Realtime Rendering Engines: Show material swaps on the fly.
- VR/AR: Great wow factor, but don’t overuse—motion sickness kills deal flow.
- Cloud Libraries: Pull updated spec sheets instantly, reinforcing that you’re on top of lead times and pricing.
6. Rehearse Like a Headliner
- Time it: Corporate boards hate meetings that overrun.
- Record yourself: Check pace, clarity, and filler words.
- Anticipate questions: Cost, schedule, maintenance—have bulletproof answers ready.
Body language matters too: shoulders back, eyes up, steady pace, genuine enthusiasm. Confidence sells.
7. Field Critique and Pivot Fast
Even the cleanest pitch sparks “what‑ifs.” Treat objections as collaboration, not rejection. Have alternates in your back pocket—simpler trim profiles, swap‑out textiles, phased installs—so you can adjust without derailing design intent or budget.
8. Close the Loop
- Action items – Sign‑off needed? Budget confirmation?
- Timeline – Dates for working drawings, procurement, install.
- Next meeting – Lock the calendar before the client leaves the room.
Follow up the same day with a concise recap email and PDF packet of the materials shown.
Client presentations aren’t decoration; they’re strategic tools that convert creative ideas into signed contracts. Align format with audience, keep graphics cohesive, rehearse relentlessly, and stay flexible under fire. Master this process, and you’ll spend less time persuading and more time designing the spaces that make your reputation.


