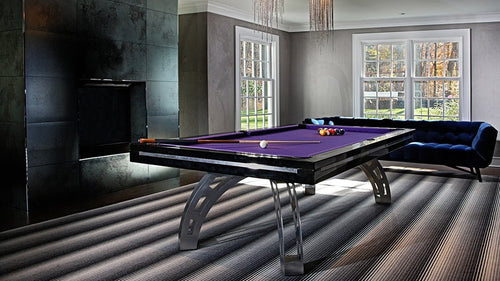
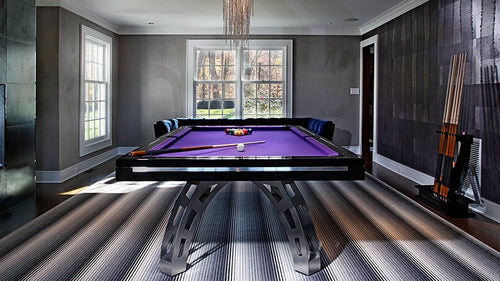
Enjoy our modern designs
Whether you're a seasoned dart enthusiast or just looking to add some friendly competition to your game nights, setting up your dartboard correctly is crucial for an enjoyable and fair game. A properly hung dartboard not only enhances your playing experience but also ensures safety and longevity of your equipment. In this comprehensive guide, we'll walk you through everything you need to know to hang your dartboard like a pro.
Table of Contents
Why Proper Dartboard Installation Matters
Hanging your dartboard correctly ensures:
- Fair Play: Standardized distances provide a level playing field for all players.
- Safety: Proper installation minimizes the risk of accidents or damage to walls.
- Durability: Correct mounting prevents unnecessary wear and tear on your dartboard and surroundings.
- Enjoyment: A well-placed dartboard creates an inviting and functional space for your games.
Tools and Materials You'll Need
Before you begin, gather the following tools and materials:
- Dartboard Mounting Kit: Typically includes a bracket and screws.
- Measuring Tape: For accurate measurements.
- Pencil: To mark drilling spots.
- Level: Ensures your dartboard is perfectly horizontal.
- Drill and Drill Bits: For creating holes in the wall.
- Screws and Wall Anchors: To securely attach the mounting bracket.
- Stud Finder: Optional but recommended for finding wall studs.
- Protective Backing: Such as a dartboard cabinet or surround to protect your walls.
Choosing the Perfect Location
Selecting the right spot for your dartboard is the foundation of a great setup. Consider the following:
- Wall Space: Ensure there's enough room for the standard throwing distance.
- Lighting: Adequate lighting reduces shadows and improves visibility.
- Safety: Avoid high-traffic areas to prevent accidental darts or interference.
- Wall Material: Drywall is common, but ensure it's sturdy enough or locate wall studs for better support.
Understanding Standard Measurements
Adhering to official dartboard measurements ensures consistency in gameplay:
- Height of the Bullseye: 5 feet 8 inches (1.73 meters) from the floor.
- Throw Line (Oche): 7 feet 9.25 inches (2.37 meters) from the face of the dartboard.
- Distance from the Dartboard to the Floor: Ensure the bottom of the dartboard is at the correct height to maintain the bullseye position.
For more detailed standards, refer to the World Darts Federation (WDF) Guidelines and the Professional Darts Corporation (PDC) Regulations.
Types of Dartboards and Installation Nuances

Different types of dartboards may require specific installation considerations:
-
Bristle (Traditional) Dartboards
- Material: Made from sisal fibers, self-healing and durable.
-
Installation Tips:
- Mounting Depth: Ensure the wall or backing can accommodate the thickness of the board plus any protective surround.
- Protection: Use a dartboard cabinet or surrounding to protect the walls from stray darts and to provide additional support.
-
Electronic Dartboards
- Material: Usually made from soft plastic, featuring electronic scoring.
-
Installation Tips:
- Power Source: Ensure there's an accessible power outlet nearby for the electronic components.
- Mounting Bracket: Electronic boards might have different mounting mechanisms; always refer to the manufacturer’s instructions.
- Surface Protection: While plastic boards are less damaging than bristle boards, using a backing still helps protect the wall and provides stability.
-
Magnetic Dartboards
- Material: Typically paper-based with magnets instead of traditional darts.
-
Installation Tips:
- Weight Considerations: These boards are usually lighter, so ensure the mounting method is appropriate to prevent slipping.
- Height and Distance: Maintain standard measurements to ensure consistent play, even though the darts are magnetic.
-
Cork Dartboards
- Material: Made from cork, offering a softer surface.
-
Installation Tips:
- Mounting Surface: Cork boards are lighter and may require different brackets or supports.
- Environment: Ensure the area is dry, as cork can be susceptible to moisture damage.
Understanding the specific requirements of your dartboard type will help in achieving a secure and optimal installation.
Step-by-Step Installation Guide
Follow these steps to hang your dartboard accurately:
-
Select the Location
- Choose a wall that offers enough space for both the dartboard and the throwing distance.
- Ensure the area is well-lit and away from obstructions.
-
Mark the Bullseye Height
- Use the measuring tape to mark a point 5 feet 8 inches from the floor on the chosen wall.
- This mark represents the center of the bullseye.
-
Attach the Mounting Bracket
- Place the mounting bracket at the bullseye mark.
- Use a level to ensure the bracket is perfectly horizontal.
- Mark the screw positions with a pencil.
-
Drill Holes and Insert Anchors
- If not mounting directly into a stud, drill holes where you marked the screws.
- Insert wall anchors to provide extra support for the screws.
-
Secure the Bracket
- Screw the mounting bracket firmly into the wall anchors or studs.
- Double-check with the level to maintain horizontal alignment.
-
Mount the Dartboard
- Place the dartboard onto the bracket according to the manufacturer's instructions.
- Ensure it's securely attached and centered on the bracket.
-
Set the Throw Line
- Measure 7 feet 9.25 inches from the dartboard face towards the throw line.
- Mark this spot as your oche.
-
Add Protective Backing (Optional)
- Install a dartboard cabinet or surrounding to protect your walls and enhance the aesthetic appeal.
-
Secure and Finalize Installation
- For bristle boards, ensure the board hangs flush against the mounting surface.
- For electronic boards, connect any necessary cables and test the functionality.
Additional Tips for an Optimal Setup
- Use Quality Hardware: Invest in sturdy screws and brackets to support the dartboard's weight and frequent use.
- Protect the Wall: Consider using a corkboard backing or a dedicated dartboard surround to prevent wall damage.
- Ensure Proper Lighting: Install a dedicated dartboard light or position the area near a bright light source to eliminate shadows.
- Maintain Clear Space: Keep the area around the dartboard free from furniture or obstacles to allow safe and unobstructed play.
- Regularly Check Alignment: Periodically ensure that the dartboard remains level and securely mounted, especially if it experiences frequent use.
- Temperature and Humidity Control: Especially for bristle boards, maintain a stable environment to prevent warping or damage to the board material.
- Cable Management for Electronic Boards: Use cable clips or channels to organize any wires, preventing tripping hazards and maintaining a clean appearance.
References
Conclusion
Setting up your dartboard correctly is the first step towards countless hours of fun and competitive play. By following this guide, you'll ensure that your dartboard is not only perfectly positioned but also safe and durable for years to come. Whether you're playing casually with friends or honing your skills for tournaments, a well-hung dartboard creates the ideal environment for enjoying the classic game of darts.
Remember to refer to official guidelines from organizations like the Professional Darts Corporation (PDC) and the World Darts Federation (WDF) to stay updated on any changes or specific requirements for official play.
Happy throwing!


