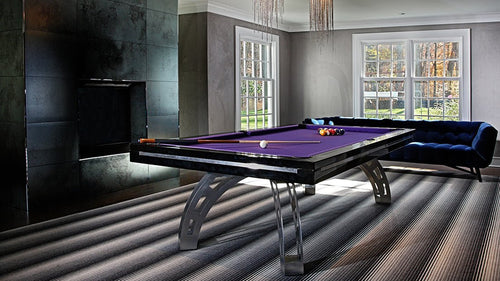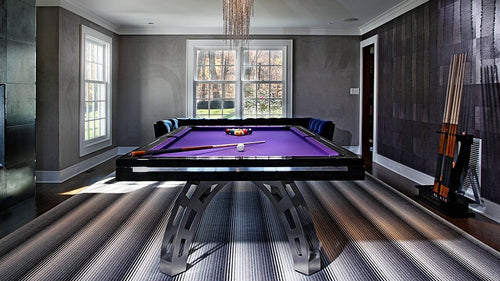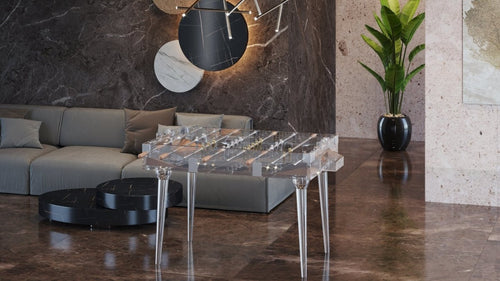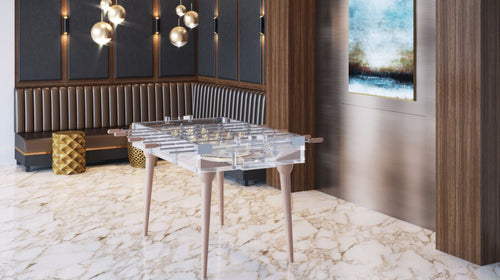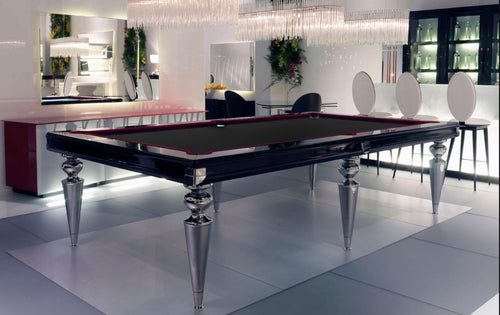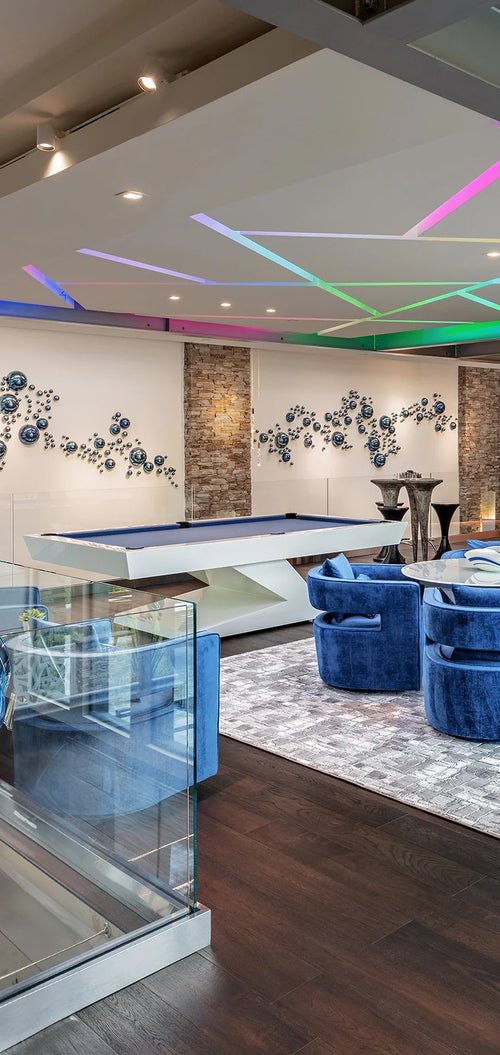


Enjoy our modern designs
Properly lighting a pool table can make all the difference in your gameplay and visual experience. Whether you prefer a classic bar-style fixture or a sleek, modern design, getting the height and setup right is essential. In this guide, we’ll explore everything you need to know—from ideal pool table light height to hanging methods and maintenance tips.
Table of Contents
Why Proper Lighting Matters
A pool table light is more than just a decorative fixture—a suitable design can provide even illumination across the playing surface, helps you track ball movement accurately, and minimizes distracting shadows. Good lighting also elevates the look of your game room, making the table a visual focal point. If you’ve ever tried to shoot pool in a dimly lit space, you’ll appreciate how much a well-placed fixture can improve both gameplay and ambience.
Ideal Pool Table Light Height
Start with the fixture: Follow the selected manufacturer’s mounting range and clearances. There is no universal 32–36-inch height that suits all billiard lights. Measure height above the playing surface and verify the result at the table.
Player clearance: Check sightlines and room for normal shots, including use of a mechanical bridge. A player’s nose or eye level is not an installation standard.
Coverage vs. Glare: Assess light across the bed, rails and corners. Raising a fixed-beam light generally spreads its footprint while reducing illuminance; lowering it can narrow the footprint. Fixture optics and room reflections also matter.
Choosing Your Pool Table Light Fixture
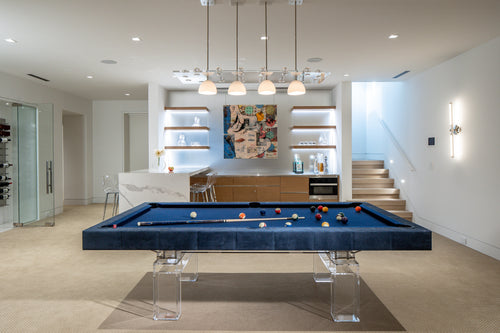
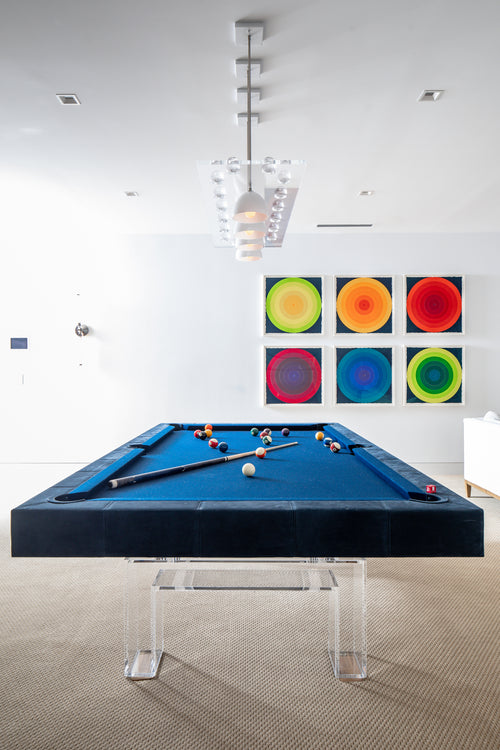
Classic Multi-Shade Fixtures: Often referred to as “bar-style” lights, these typically have two or three shades that distribute targeted light along the entire table surface. They’re a favorite for 7, 8, or 9-foot tables.
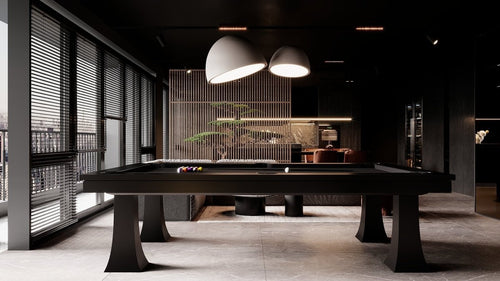
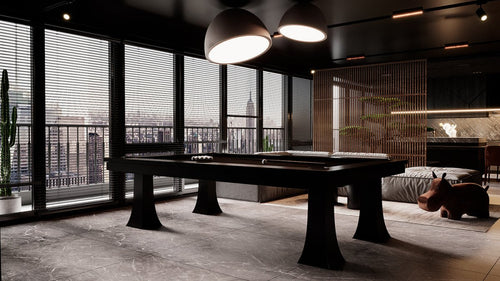
Contemporary Single-Piece Fixtures: Modern rectangular or dome-shaped designs can incorporate LED strips for an even glow. These are ideal for clean, minimalist aesthetics.
Bulb Choices:
- Brightness: Choose the required light output and distribution while obeying the fixture’s bulb type and maximum actual wattage. “LED equivalent” wattage is not the bulb’s electrical consumption or a substitute for compatibility checks.
- Color Temperature: Warmer bulbs (around 2700K–3000K) create a cozy atmosphere, while cooler bulbs (4000K+) provide a crisp, modern feel.
Centering and Positioning
Exact Center: The fixture should be directly centered over the table. Measure from each edge of the pool table to find the midpoint on your ceiling for balanced lighting.
Beam Coverage: Check the entire playing area and rails. Shadowy corners may call for different optics, spacing or a more suitable fixture; automatically lowering the light may make coverage worse.
Hanging Methods and Best Practices
Chain-Hung vs. Rod-Hung: Use the manufacturer’s specified suspension hardware and geometry. A generic “more than 45°” chain rule does not establish a safe load; increasing the spread of suspension lines can increase their tension.
Offset Positioning: Only swag a fixture designed and approved for that arrangement, with suitable supports. Do not bend or redirect rigid rods as if they were flexible chain. Have an electrician resolve an electrical box that is in the wrong position.
Support: Have the installer verify that the box, structure, fasteners and suspension are suitable for the actual fixture and installation. Do not choose anchors solely from a generic weight estimate.
Balancing Aesthetics with Function
Complement Your Decor: Choose a finish and style that aligns with your existing game room design—vintage, industrial, traditional, or contemporary.
Focus on the Table: Your main objective is to illuminate the playing surface. Accent lighting elsewhere in the room can enhance ambience but shouldn’t distract from the pool table.
Common Mistakes to Avoid
- Improper Height: Hanging the fixture too high or low results in glare or poor coverage.
- Off-Center Mounting: Uneven illumination disrupts gameplay and visually throws off the space.
- Wrong Bulbs: Respect the fixture rating and evaluate glare and light output. More electrical watts do not guarantee better table illumination.
- Ignoring Fixture Support: Always confirm your ceiling can handle the fixture’s weight to avoid accidents.
Maintenance and Final Touches
Regular Cleaning: Follow the fixture’s cleaning instructions; switch it off and allow it to cool before accessible routine cleaning. Use an appropriate access method without standing on the pool table.
Check Hardware: Watch for loose, damaged or sagging parts and have them addressed by a qualified installer. Do not improvise suspension changes while the fixture is powered.
Prevent Glare: Assess shielding, lamp brightness and approved mounting adjustments. Keep all changes within the manufacturer’s limits.
Conclusion
A useful billiard light combines even coverage, controlled glare and adequate player clearance with a properly supported installation. Start with the actual fixture’s instructions and check its performance over the table. For competition planning, the WPA equipment document has separate lighting provisions; those are not a universal home installation height.
Sources
References checked October 19, 2026: Z-Lite: model-specific installation, electrical work and wattage label; WPA equipment document: competition lighting scope and requirements.