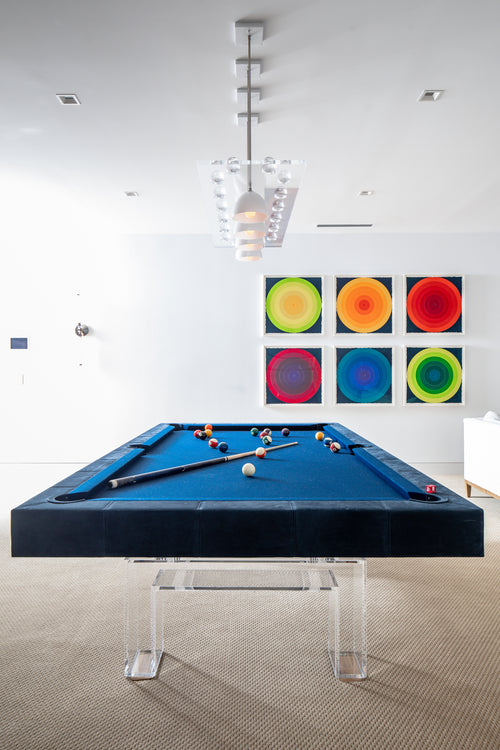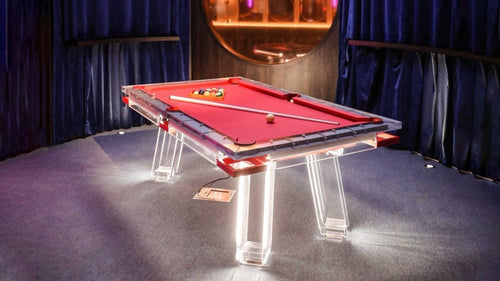


Enjoy our modern designs
Technique & Aiming Systems
Center to
Edge
A careful introduction to CTE’s visual references, align-and-pivot process and practice method—without pretending that three object-ball points automatically solve every cut angle.
Center-to-Edge, usually shortened to CTE, is a family of visual alignment and pivot-based aiming methods. Its best-known modern form is Stan Shuffett’s CTE Pro One. Some players find that its structured routine improves alignment and confidence; others argue that successful use still requires learned visual judgment.
That distinction matters. CTE is not accurately described as five fixed points for five exact cut angles. It combines a center-to-edge sighting reference with additional cue-ball and object-ball visuals, followed by either a manual pivot or a visual sweep into the final center-ball cue alignment.
This guide explains the shared vocabulary and a sensible way to practice it. It is not a substitute for the complete instructions belonging to a specific CTE version.
✦
The Concept
What CTE
Actually Does
At its broadest, CTE is an align-and-pivot pre-shot routine. The player first observes a visual line running from the center of the cue ball toward an outside edge of the object ball. That is the center-to-edge reference from which the system takes its name.
In CTE Pro One instruction, that perception is paired with a second visual involving a cue-ball edge and an object-ball reference. The player then enters the stance on a prescribed side of the perceived line and brings the cue toward center ball through a manual pivot or visual sweep.
Important Terminology
Center-to-edge line: a visual reference between the perceived center of the cue ball and an outside edge of the object ball.
A, B and C: object-ball alignment references. They should not be presented as universal 15°, 30° and 45° answers.
Manual pivot: an initial cue alignment that is pivoted to center cue ball before the final stroke.
Visual sweep: a Pro One approach that moves into the center-ball alignment without treating the motion as a conspicuous mechanical cue pivot.
There are multiple versions and interpretations of CTE. Instructions involving tip offsets, bridge lengths, pivot direction and thin-cut visuals are not interchangeable. If you learn from one version, stay with that version until its process is stable.
The Visual Language
Center-to-Edge
and A/B/C
A, B and C describe locations across the object ball’s visible face. In common explanations of CTE Pro One, B is the object-ball center, while A and C are quarter references on opposite sides.
Their functional meaning changes with cut direction. For a cut to the left, A is on the inside side of the object ball and C is on the outside side. For a cut to the right, that relationship reverses.
CTE
Sight Reference
Cue-ball center toward an outside object-ball edge
A
Left Quarter
Inside for left cuts; outside for right cuts
B
Center
The central object-ball alignment reference
C
Right Quarter
Outside for left cuts; inside for right cuts
Thin
Additional Visuals
Version-specific edge or overlap references
Why the Old Angle Chart Was Removed
Labeling A, B and C as exact 15°, 30° and 45° solutions is misleading. Cue-ball-to-object-ball distance, visual perception, bridge placement, chosen pivot and the specific CTE version all affect the resulting cue direction.
The Mechanics
Visual, Entry
and Delivery
The following sequence describes the shared structure of modern CTE explanations. It deliberately avoids prescribing a universal tip offset or pivot direction because those instructions vary by version and shot category.
-
Confirm the Intended Shot
Identify the object ball, pocket and required cut direction. CTE gives you an alignment routine, but you must still read the shot and choose the appropriate visual category.
Start with center-ball speed and no intentional sidespin -
Establish the Center-to-Edge Perception
While standing, observe the relationship between the perceived center of the cue ball and the appropriate outside edge of the object ball.
-
Acquire the Second Visual
Pair the CTE perception with the prescribed cue-ball-edge-to-object-ball reference for the version you are learning. This may involve A, B, C or a thin-cut reference.
A and C reverse their inside/outside roles with cut direction -
Enter the Stance Consistently
Move into the shot without losing the visual relationship. Eye position, bridge placement and body entry matter because changing them can change the final cue line.
-
Move the Cue to Center Ball
Depending on the method, use the prescribed manual pivot or visual sweep to arrive at the final center-cue-ball address. In a fixed-bridge manual pivot, the bridge functions as the pivot point—not the back of the cue.
Do not mix a fixed-bridge pivot with an unrelated rear-anchor method -
Deliver a Straight Stroke
Once the final line is acquired, pause and stroke straight through the cue ball. Do not keep adjusting during the final stroke.
The reference points organize the pre-shot routine. They do not eliminate the need to learn the correct visual, stance entry and pivot for the shot in front of you.Practical takeaway
At the Table
Four Better
Practice Setups
Rather than memorizing unsupported angle labels, practice repeatable layouts and record which approved visual, pivot and bridge setup you used.
Practice 01
Repeat One Medium Cut
- Place adhesive markers under the cue ball and object ball
- Choose one CTE version and one prescribed visual
- Shoot ten attempts without changing the setup
- Record center-pocket, pocket-edge and missed results
Practice 02
Mirror the Same Shot
- Build matching left-cut and right-cut layouts
- Remember that A and C reverse functional roles
- Keep speed and bridge length consistent
- Compare whether one direction changes your stance entry
Practice 03
Change Only the Distance
- Keep the object ball and pocket line fixed
- Move the cue ball closer, then farther away
- Follow your chosen version’s distance guidance
- Notice how the same visual may appear different
Practice 04
Add Speed Before Spin
- Begin with a center-ball rolling shot
- Repeat at soft, medium and firm speeds
- Observe changes caused by cut-induced throw
- Add intentional sidespin only after the baseline is stable
Practice 05 — Diagnostic
Separate Aiming Errors From Stroke Errors
- Place a striped ball as the cue ball with its stripe vertical
- Use your normal CTE visual and move into center-ball address
- Freeze after the stroke and inspect cue delivery
- If the cue ball spins unintentionally, repair the stroke before changing the visual
Why Players Use It
Potential Benefits
of CTE
A Structured Routine
CTE gives the player a repeatable sequence for observing the balls, entering the stance and addressing center cue ball.
Alignment Awareness
Working with defined ball edges and reference points can make eye position, bridge placement and cue alignment more deliberate.
Commitment
A trusted pre-shot routine can reduce late indecision, allowing the player to commit to the final stroke.
These are potential practice benefits—not proof that CTE removes all judgment or automatically produces the correct line. Successful use still depends on learning the selected system, seeing the visuals consistently and delivering the cue accurately.
What Goes Wrong
Common Pitfalls
to Avoid
Pitfall 01
Treating A/B/C as Fixed Angles
Assigning A, B and C to exact 15°, 30° and 45° shots ignores distance, perception, stance entry and pivot choice.
The Fix
Learn the references as parts of a complete visual system. Test them with repeatable layouts instead of memorizing an oversimplified angle chart.
Pitfall 02
Mixing Different CTE Versions
Early center-to-edge methods, manual CTE and CTE Pro One do not always use the same offsets, pivots, visuals or terminology.
The Fix
Choose one complete instructional source and follow its sequence until you understand which parts belong together.
Pitfall 03
Moving the Pivot Point
In a fixed-bridge manual pivot, moving the bridge changes the geometry. Treating the butt of the cue as the fixed pivot creates a different motion.
The Fix
Practice the cue movement slowly with the bridge planted. If you are learning a visual sweep instead, follow that method rather than combining the two.
Pitfall 04
Blaming Every Miss on Aim
Stroke steering, unintended sidespin, speed, cut-induced throw and pocket conditions can all cause misses even when the initial visual is reasonable.
The Fix
Establish a center-ball baseline and diagnose cue delivery before changing your visual reference.
A Sensible Learning Order
First: learn the terminology belonging to one version.
Second: repeat simple center-ball shots from marked positions.
Third: mirror shots left and right while keeping speed consistent.
Last: introduce sidespin, position routes and more extreme cuts. shots
Study the Complete Method
CTE is difficult to teach accurately in a short article. Stan Shuffett’s material is the primary source for CTE Pro One, while Dr. Dave Alciatore’s technical page compares multiple CTE versions and explains where interpretations differ.
Visit the Official CTE Site Compare CTE Versions Download the CTE Practice WorksheetBuild a Better Practice Space
A repeatable routine is easier to develop when the table is level, the lighting is consistent and cues have a protected place between sessions.
// What to Take to the Table
CTE is best understood as a complete visual and alignment routine—not a shortcut chart that assigns one point to every angle. Pick one version, learn its language faithfully and test it on repeatable layouts. The real standard is not whether a system sounds mathematically complete; it is whether you can reproduce the alignment and deliver the cue cleanly.