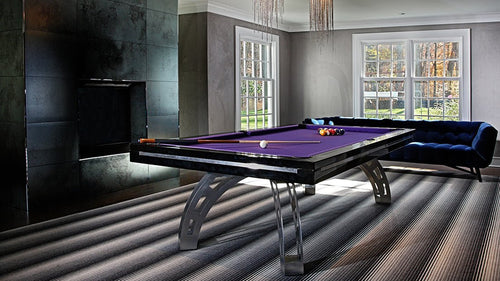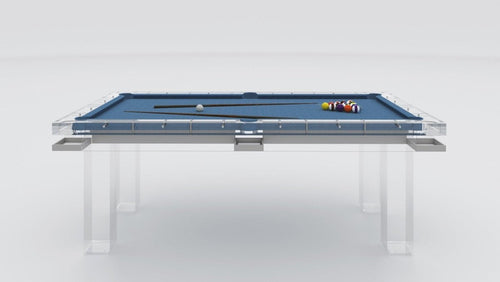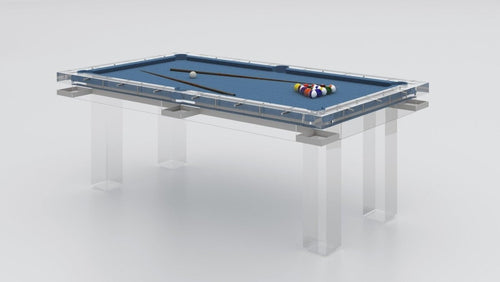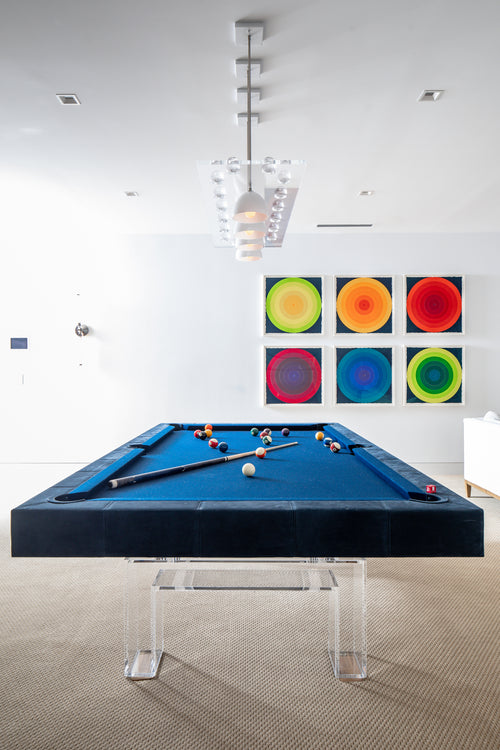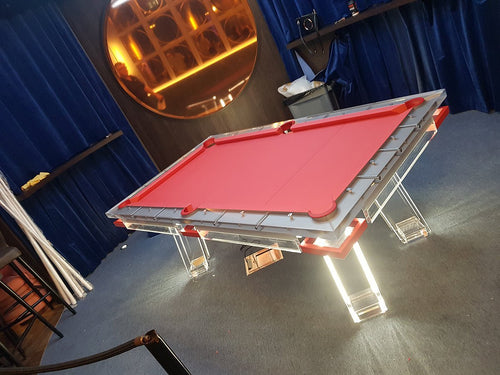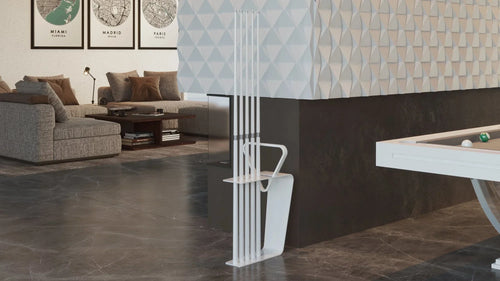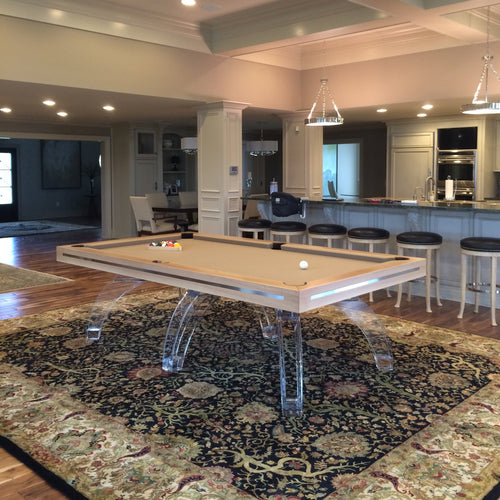


Enjoy our modern designs
How to check holder fit, contact surfaces and spacing before storing a billiard cue.
A cue rack should suit the cues it holds. Price alone cannot establish whether a rack is protective: an inexpensive, well-fitting design may be suitable, while an expensive rack can still have the wrong holder size or spacing.
Look at the entire support path, from the butt rest to the upper holder, and check how each cue enters and leaves the rack.
The useful questions are concrete: does the cue remain straight, do contact points have rough edges or debris, and can it be removed without force or collision? These checks are more informative than a budget-versus-luxury label.
Table of Contents
1. Check the Retaining Clips
A retaining clip can create problems if it is undersized, damaged, abrasive or misaligned. Inspect its actual contact surface rather than assuming all molded plastic clips behave alike.
The check: Insert and remove the cue in the intended direction. The holder should not require forced bending or leave marks. Plastic formulations and clip geometry vary; a material category alone does not tell you its flexibility.
What to Inspect:
- Surface wear: Rough edges or trapped grit can scratch a finish. Clean and inspect the contact areas, and stop using a holder that marks the cue.
- Shaft feel: Follow the cue maker’s cleaning advice if the shaft feels rough or sticky. Tip chalk is not a shaft lubricant and is not a remedy for rack damage.
What to compare: Felt-lined, flexible and open holders are all options. Check fit and release effort on the actual design; none is automatically damage-proof.
2. Inspect Recesses and Contact Surfaces
Inspect the recesses and lower supports on any rack. Look for splinters, exposed fasteners, sharp edges and accumulated dirt.
The check: Contact surfaces should be smooth and compatible with the cue finish. Do not assume either poor or good finishing from the purchase price.
What to Inspect:
- Butt contact: Lower the cue gently into its intended support. A rough or dirty cup may mark the finish or bumper.
- Protruding details: Keep decorative features clear of snag points and narrow openings. Do not force them past hardware.
What to compare: Inspect liners, finished recesses and replaceable contact parts. Even a soft lining needs cleaning and replacement if worn.
3. Check the Actual Contact Diameter
Wood shafts and cue finishes can be marked or damaged by unsuitable contact. The appropriate support depends on the cue and rack design.
The check: Measure the cue where the holder touches it, not just at the tip. The shaft is tapered, and the advertised tip diameter does not determine the clip size needed farther down the cue.
What to Inspect:
- Excessive pressure: Do not force a cue into a holder outside its specified range. Investigate visible marks or excessive grip before continued use.
- Alignment: Position the upper holder and lower support so the cue stays straight. Do not use the rack to force a bent cue straight or assume that suspension alone prevents warping.
4. Allow Room for Removal
The check: A rack’s cue count is only useful if your cues fit with enough clearance to be removed independently. Check wider butts, extensions and the approach angle.
What to Inspect:
- Clear removal: Avoid arrangements in which cues must strike one another during handling. Contact may cause damage, but the sound of a light touch is not proof that a dent has occurred.
The Verdict: Choose by Fit and Condition
A comfortable shaft surface matters, but rack choice is only one part of cue care. Environmental conditions, handling and the cue maker’s maintenance instructions also matter.
Choose the rack whose fit and contact details you can verify. McDermott’s storage guidance calls for a straight cue position and consistent temperature and humidity. A higher price is not a substitute for those checks.