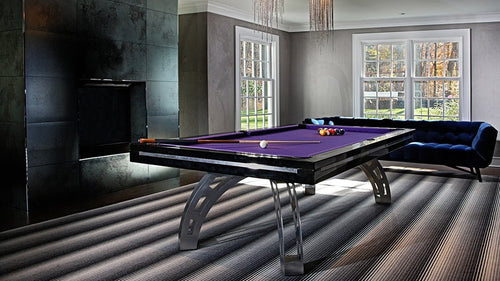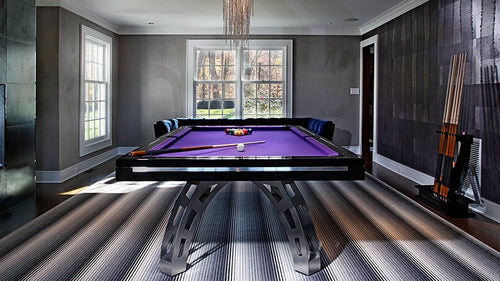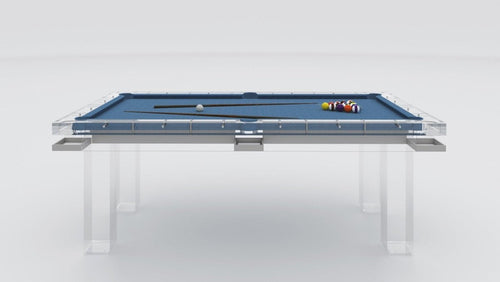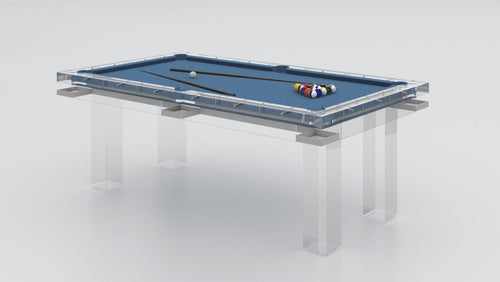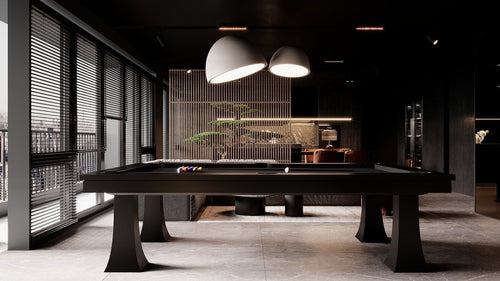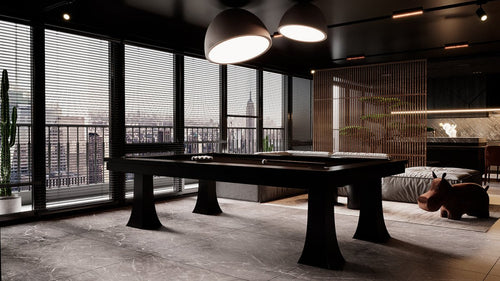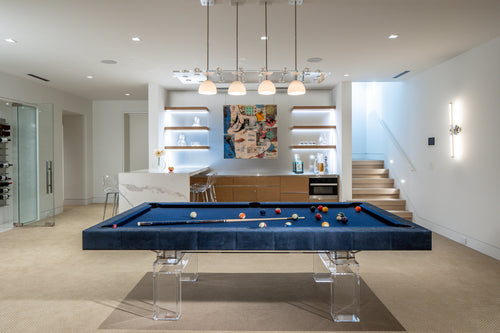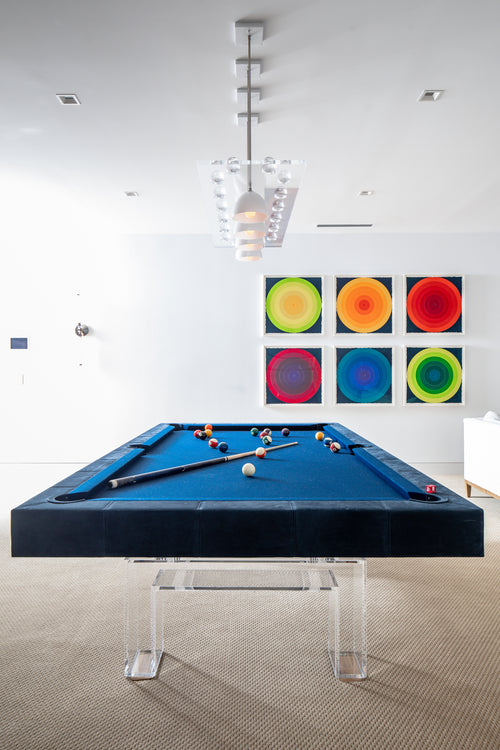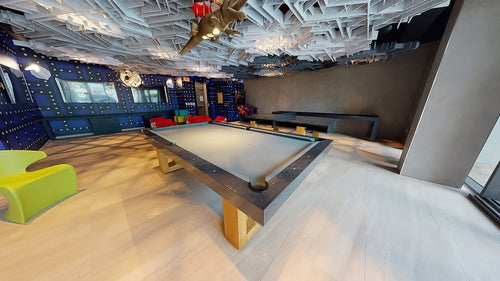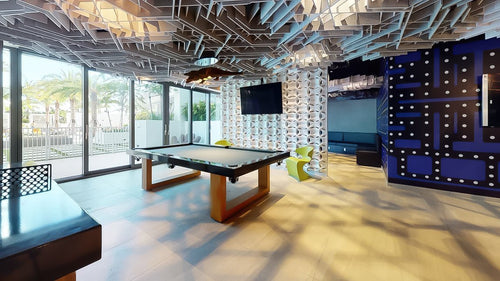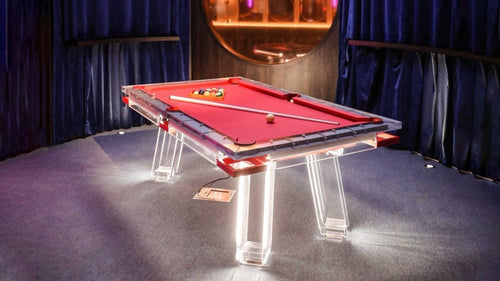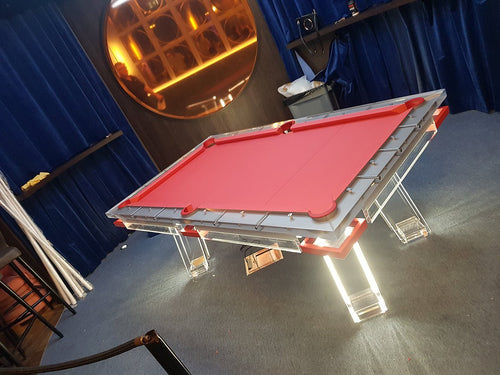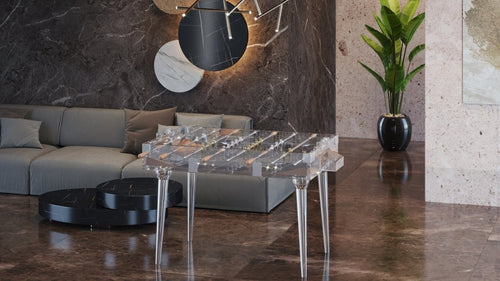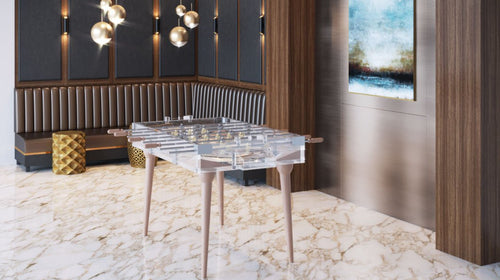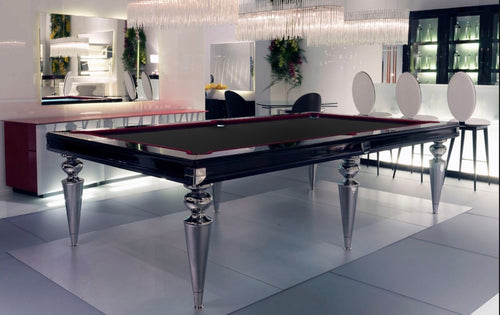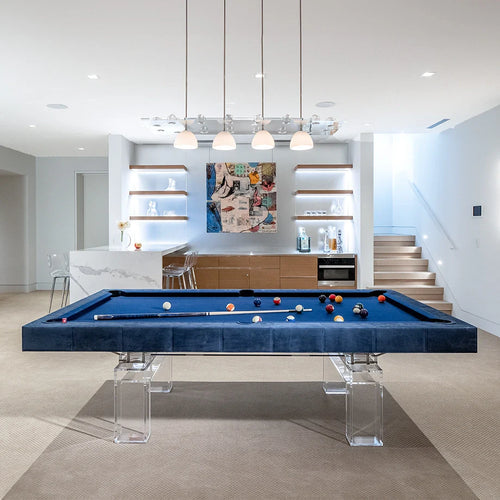


Enjoy our modern designs
Installation sign-off should confirm more than appearance. A pool table must be stable, level, properly assembled, free from unacceptable damage, and ready for consistent play.
A structured inspection with the installer present gives the owner or project representative a chance to identify problems and document unresolved work before final acceptance.
In this guide:
1. Prepare for Inspection
Schedule the inspection while the qualified installer is present and has the tools needed to make adjustments. Provide the approved drawings, finish samples, proposal, accessory list, and receiving report.
Use clean, undamaged balls and permanent room lighting. Identify the person authorized to accept the table and approve minor field corrections.
2. Inspect the Assembly
Compare the installed table with the approved documents. Confirm its location, orientation, dimensions, rail configuration, pocket type, cloth, materials, and visible details.
- Correct table location and orientation
- Aligned structural and finish joints
- Secure panels, rails, and hardware
- No visible rocking or movement
- No installation damage to the room
- Overhead fixture centered correctly
3. Verify Stability and Level
The installer should verify level with appropriate precision equipment at multiple locations and directions. A single center reading is not enough.
Check the perimeter, center, length, width, and diagonals. Confirm that leveling points are secure and accessible for future adjustment.
Design note: Do not judge level only by watching one ball. Ball condition, cloth, spin, debris, and release force can affect the result.
4. Perform Roll Tests
Release clean balls gently without intentional spin. Test slow rolls in both directions along the length, width, near the rails, and across several diagonal paths.
- Test multiple paths across the surface.
- Use slow rolls that reveal gradual movement.
- Repeat questionable tests.
- Compare movement in opposite directions.
- Record persistent issues by location.
- Retest after installer adjustments.
5. Test Cushions and Rails
Play controlled shots into each rail from comparable positions. Check for reasonably consistent response, loose components, unusual sounds, or obvious dead areas.
The goal is not formal tournament certification unless the contract requires it. It is to identify clear defects in cushion response or rail attachment.
6. Inspect Pockets, Cloth, and Finishes
Play balls into every pocket from several angles. Confirm that liners, leather, nets, irons, or ball-return components are secure and operate correctly.
- Correct cloth product and color
- Smooth playing surface without wrinkles
- Controlled cloth cuts around pockets
- Aligned rails and pocket openings
- Clean wood, metal, paint, and leather
- No freight or installation damage
- No tools or debris left inside the table
Design note: Inspect the table under its permanent fixture. Temporary construction lighting may hide finish and cloth conditions.
7. Document Acceptance
List every unresolved item with a description, photograph, responsible party, and target completion date. Distinguish cosmetic work from conditions that prevent normal use.
Record the installation date, table location, installer, people present, tests completed, accessories received, deficiencies, and acceptance status.
Collect warranty terms, care instructions, approved finish information, replacement cloth details, touch-up guidance, and service contacts.
The Bottom Line
A proper sign-off confirms assembly, stability, level, roll, cushion response, pocket operation, cloth quality, finishes, accessories, and unresolved work. The table should be accepted because it has been inspected and tested.